11 Havelock Walk
London SE23 3HG
+44 (0)7876 568485
ARCHITECTURE - DESIGN - CONSULTING
Your Custom Text Here

Your Custom Text Here

The first part has one hole per ‘branch’.
Place it textured side down on a clean working surface - like this.
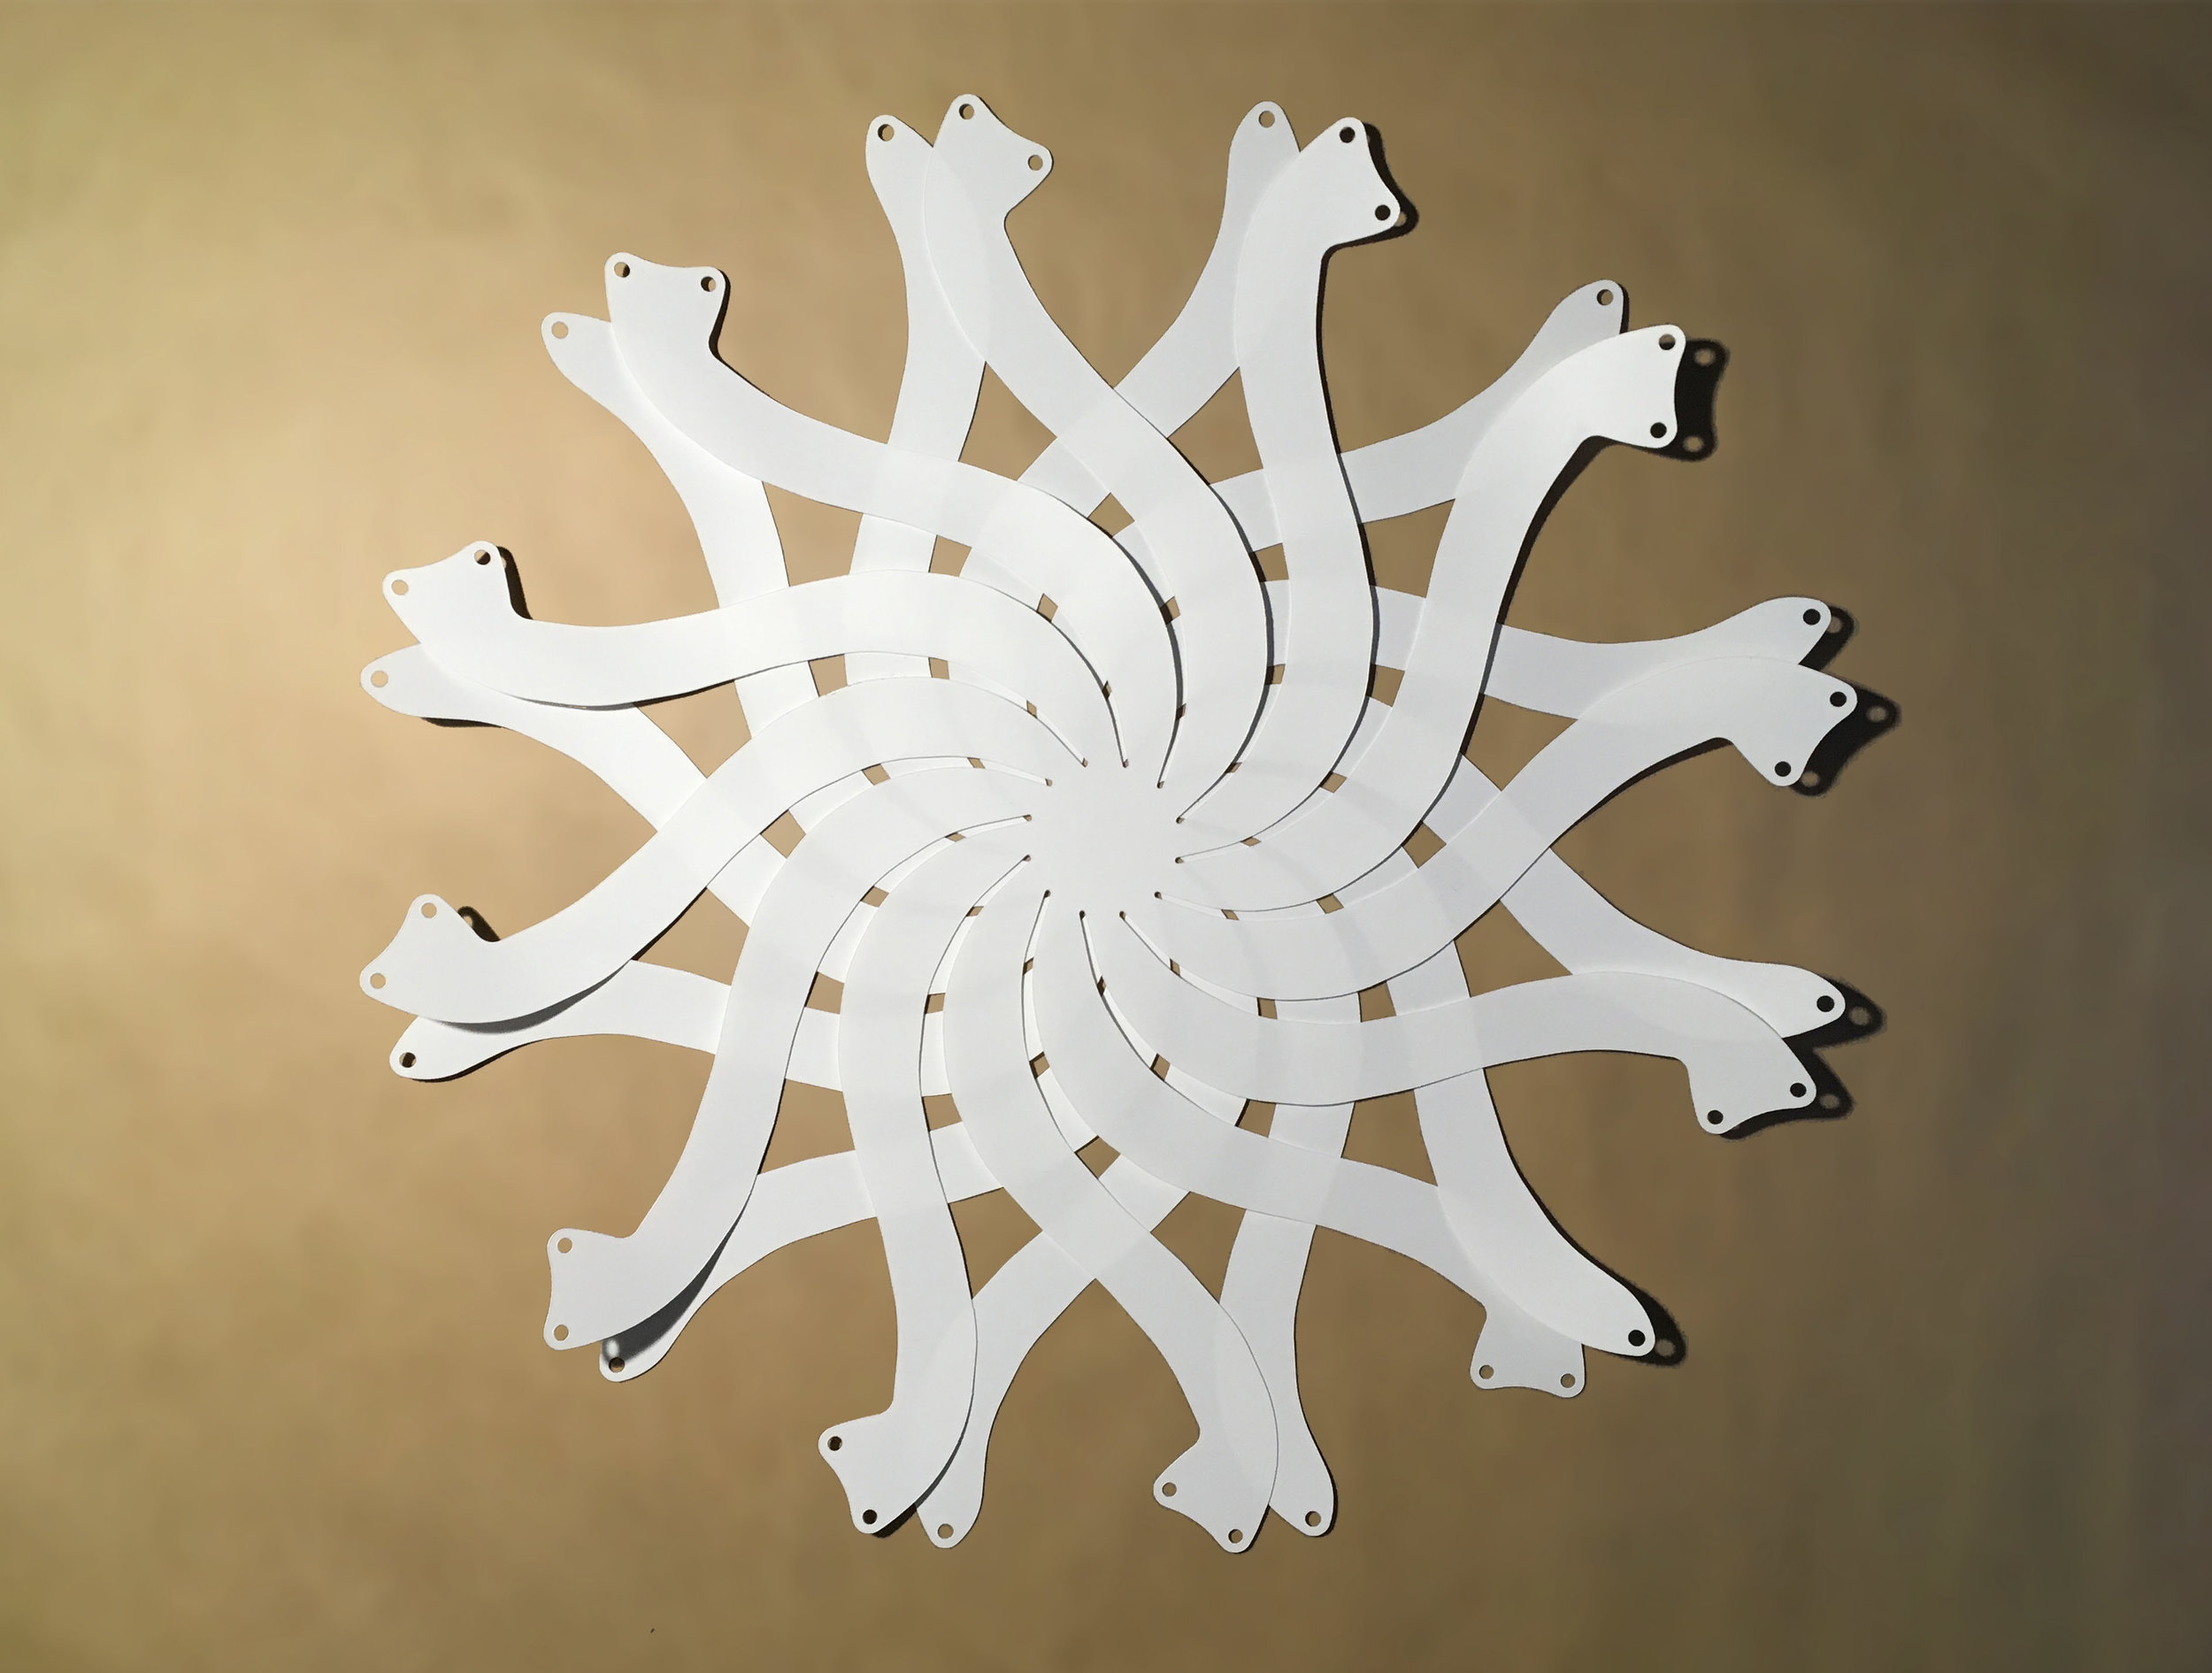
The second part has two holes per branch.
Overlay it on the first so it spirals in the opposite direction.
The centres should line up neatly.
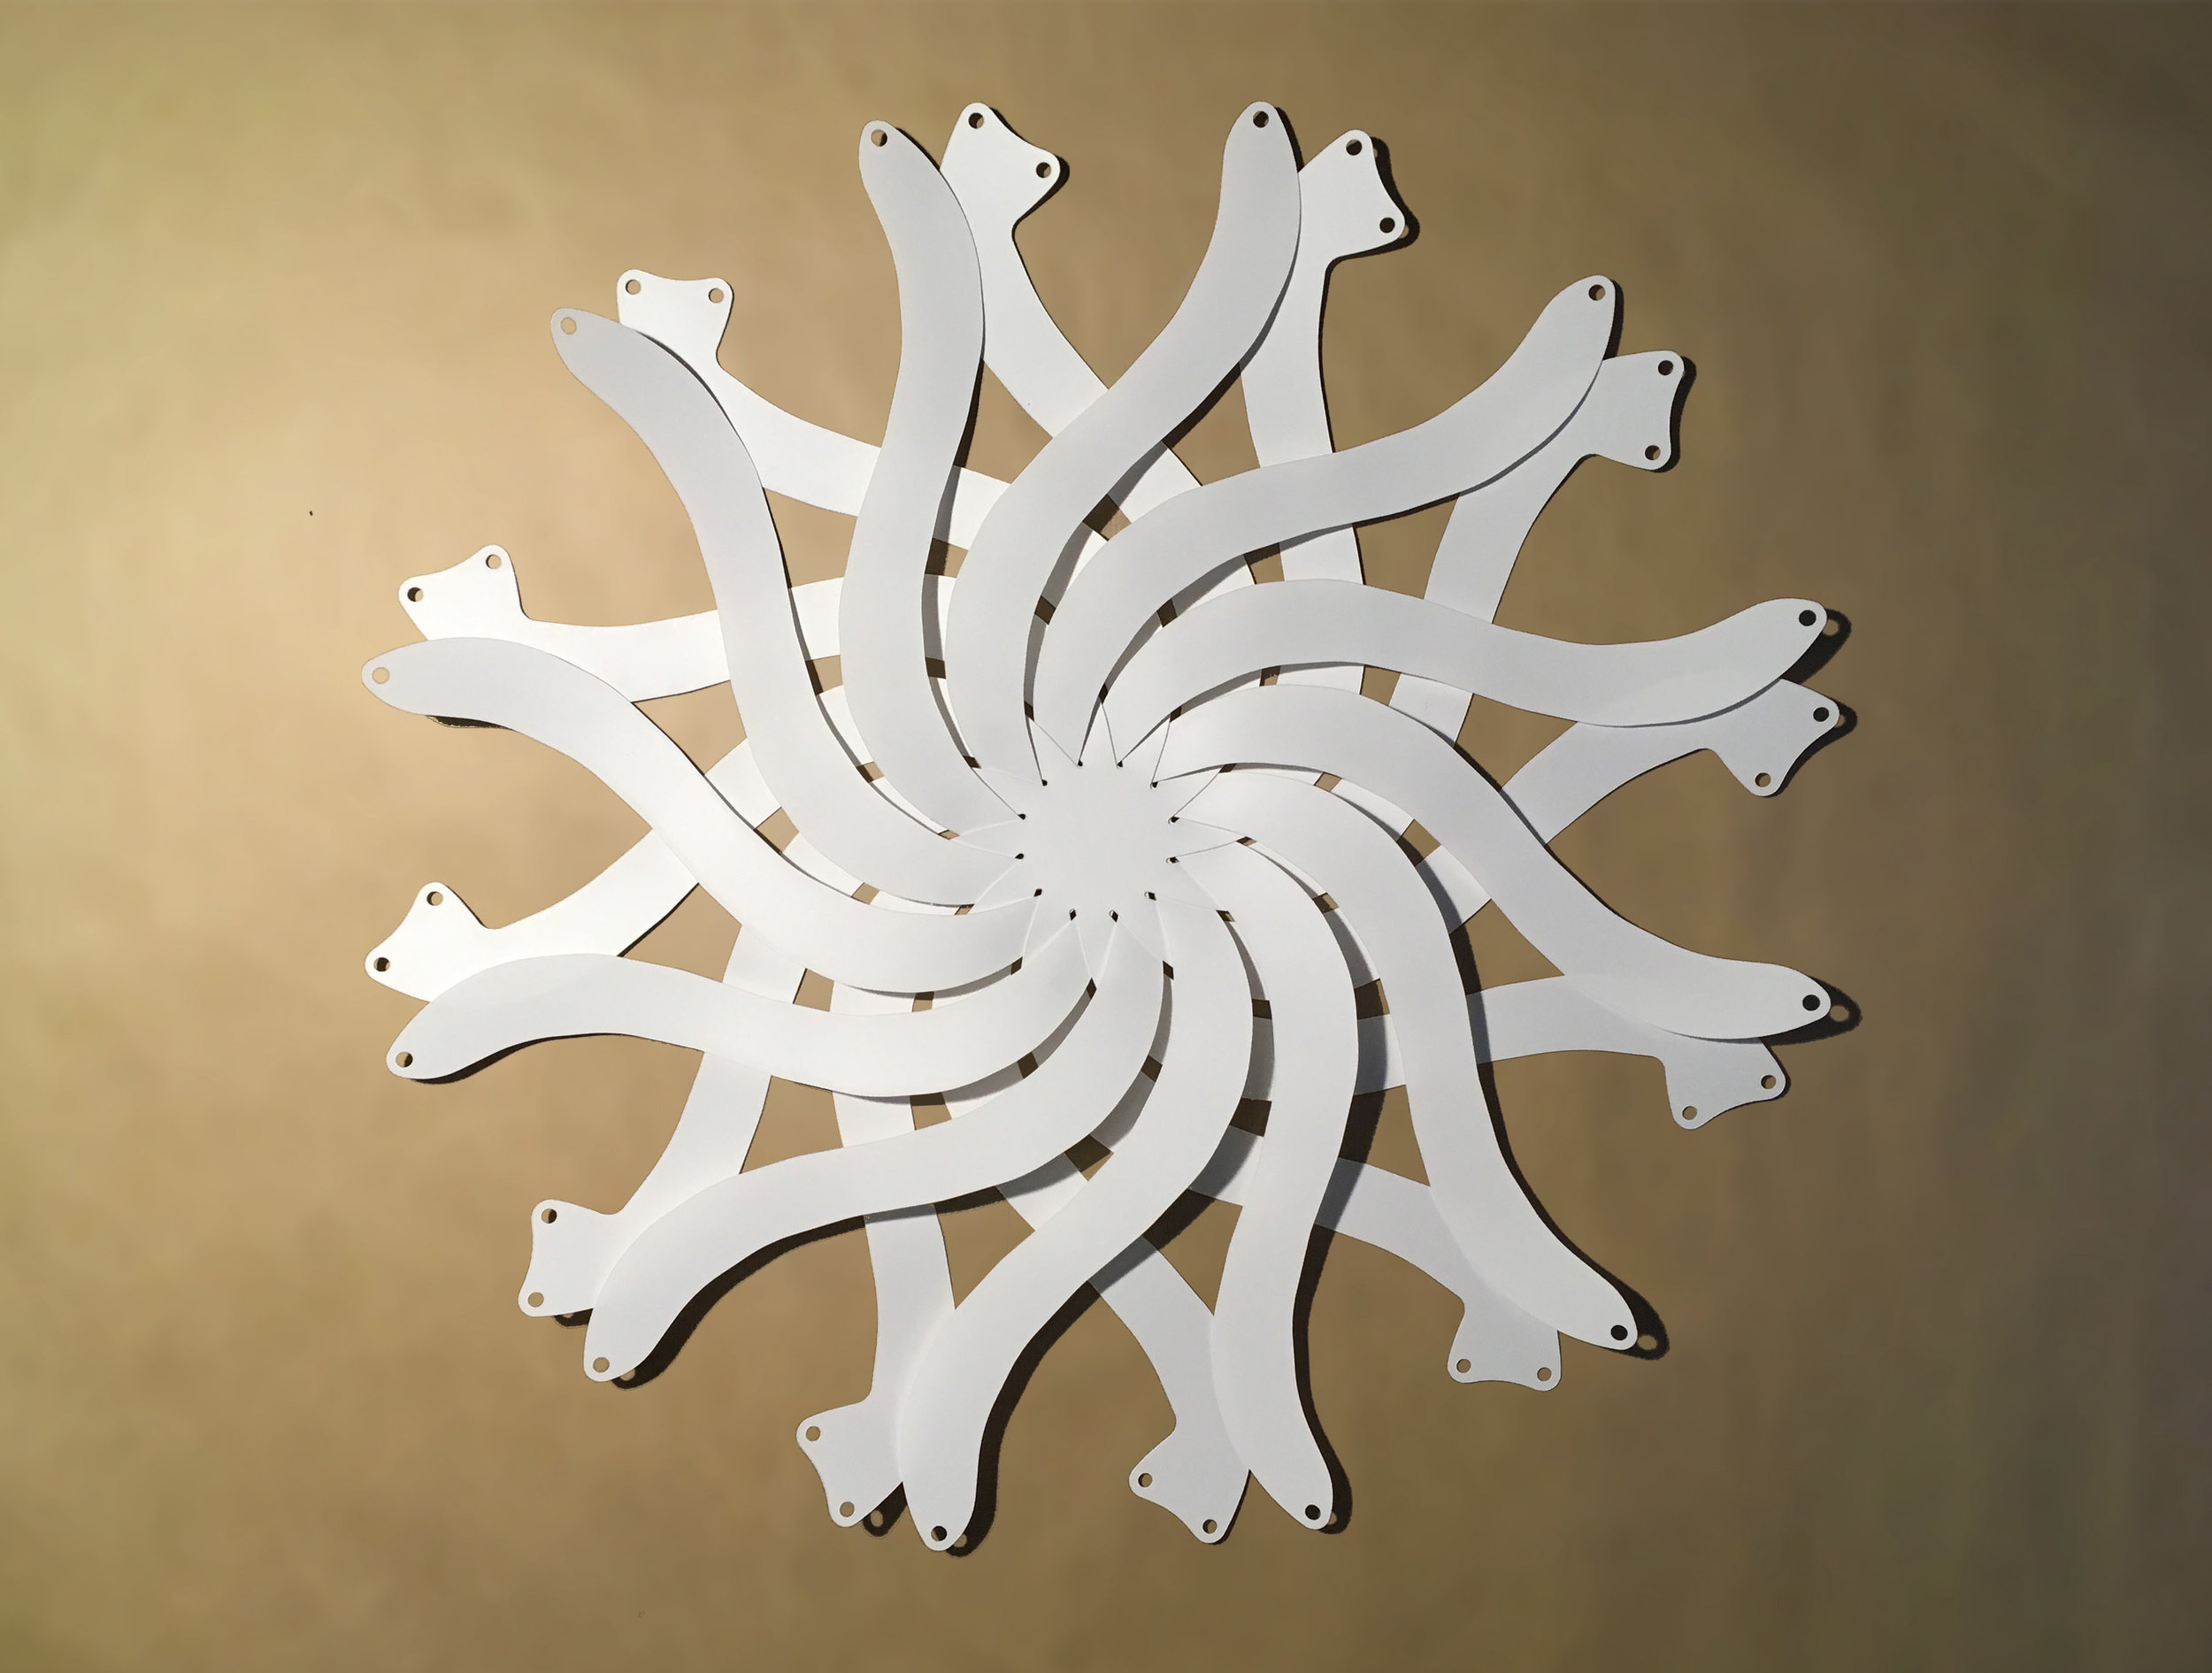
Weave one branch from the back through to the front.
Then complete the full circle.
Try to keep the centre in place as you go.
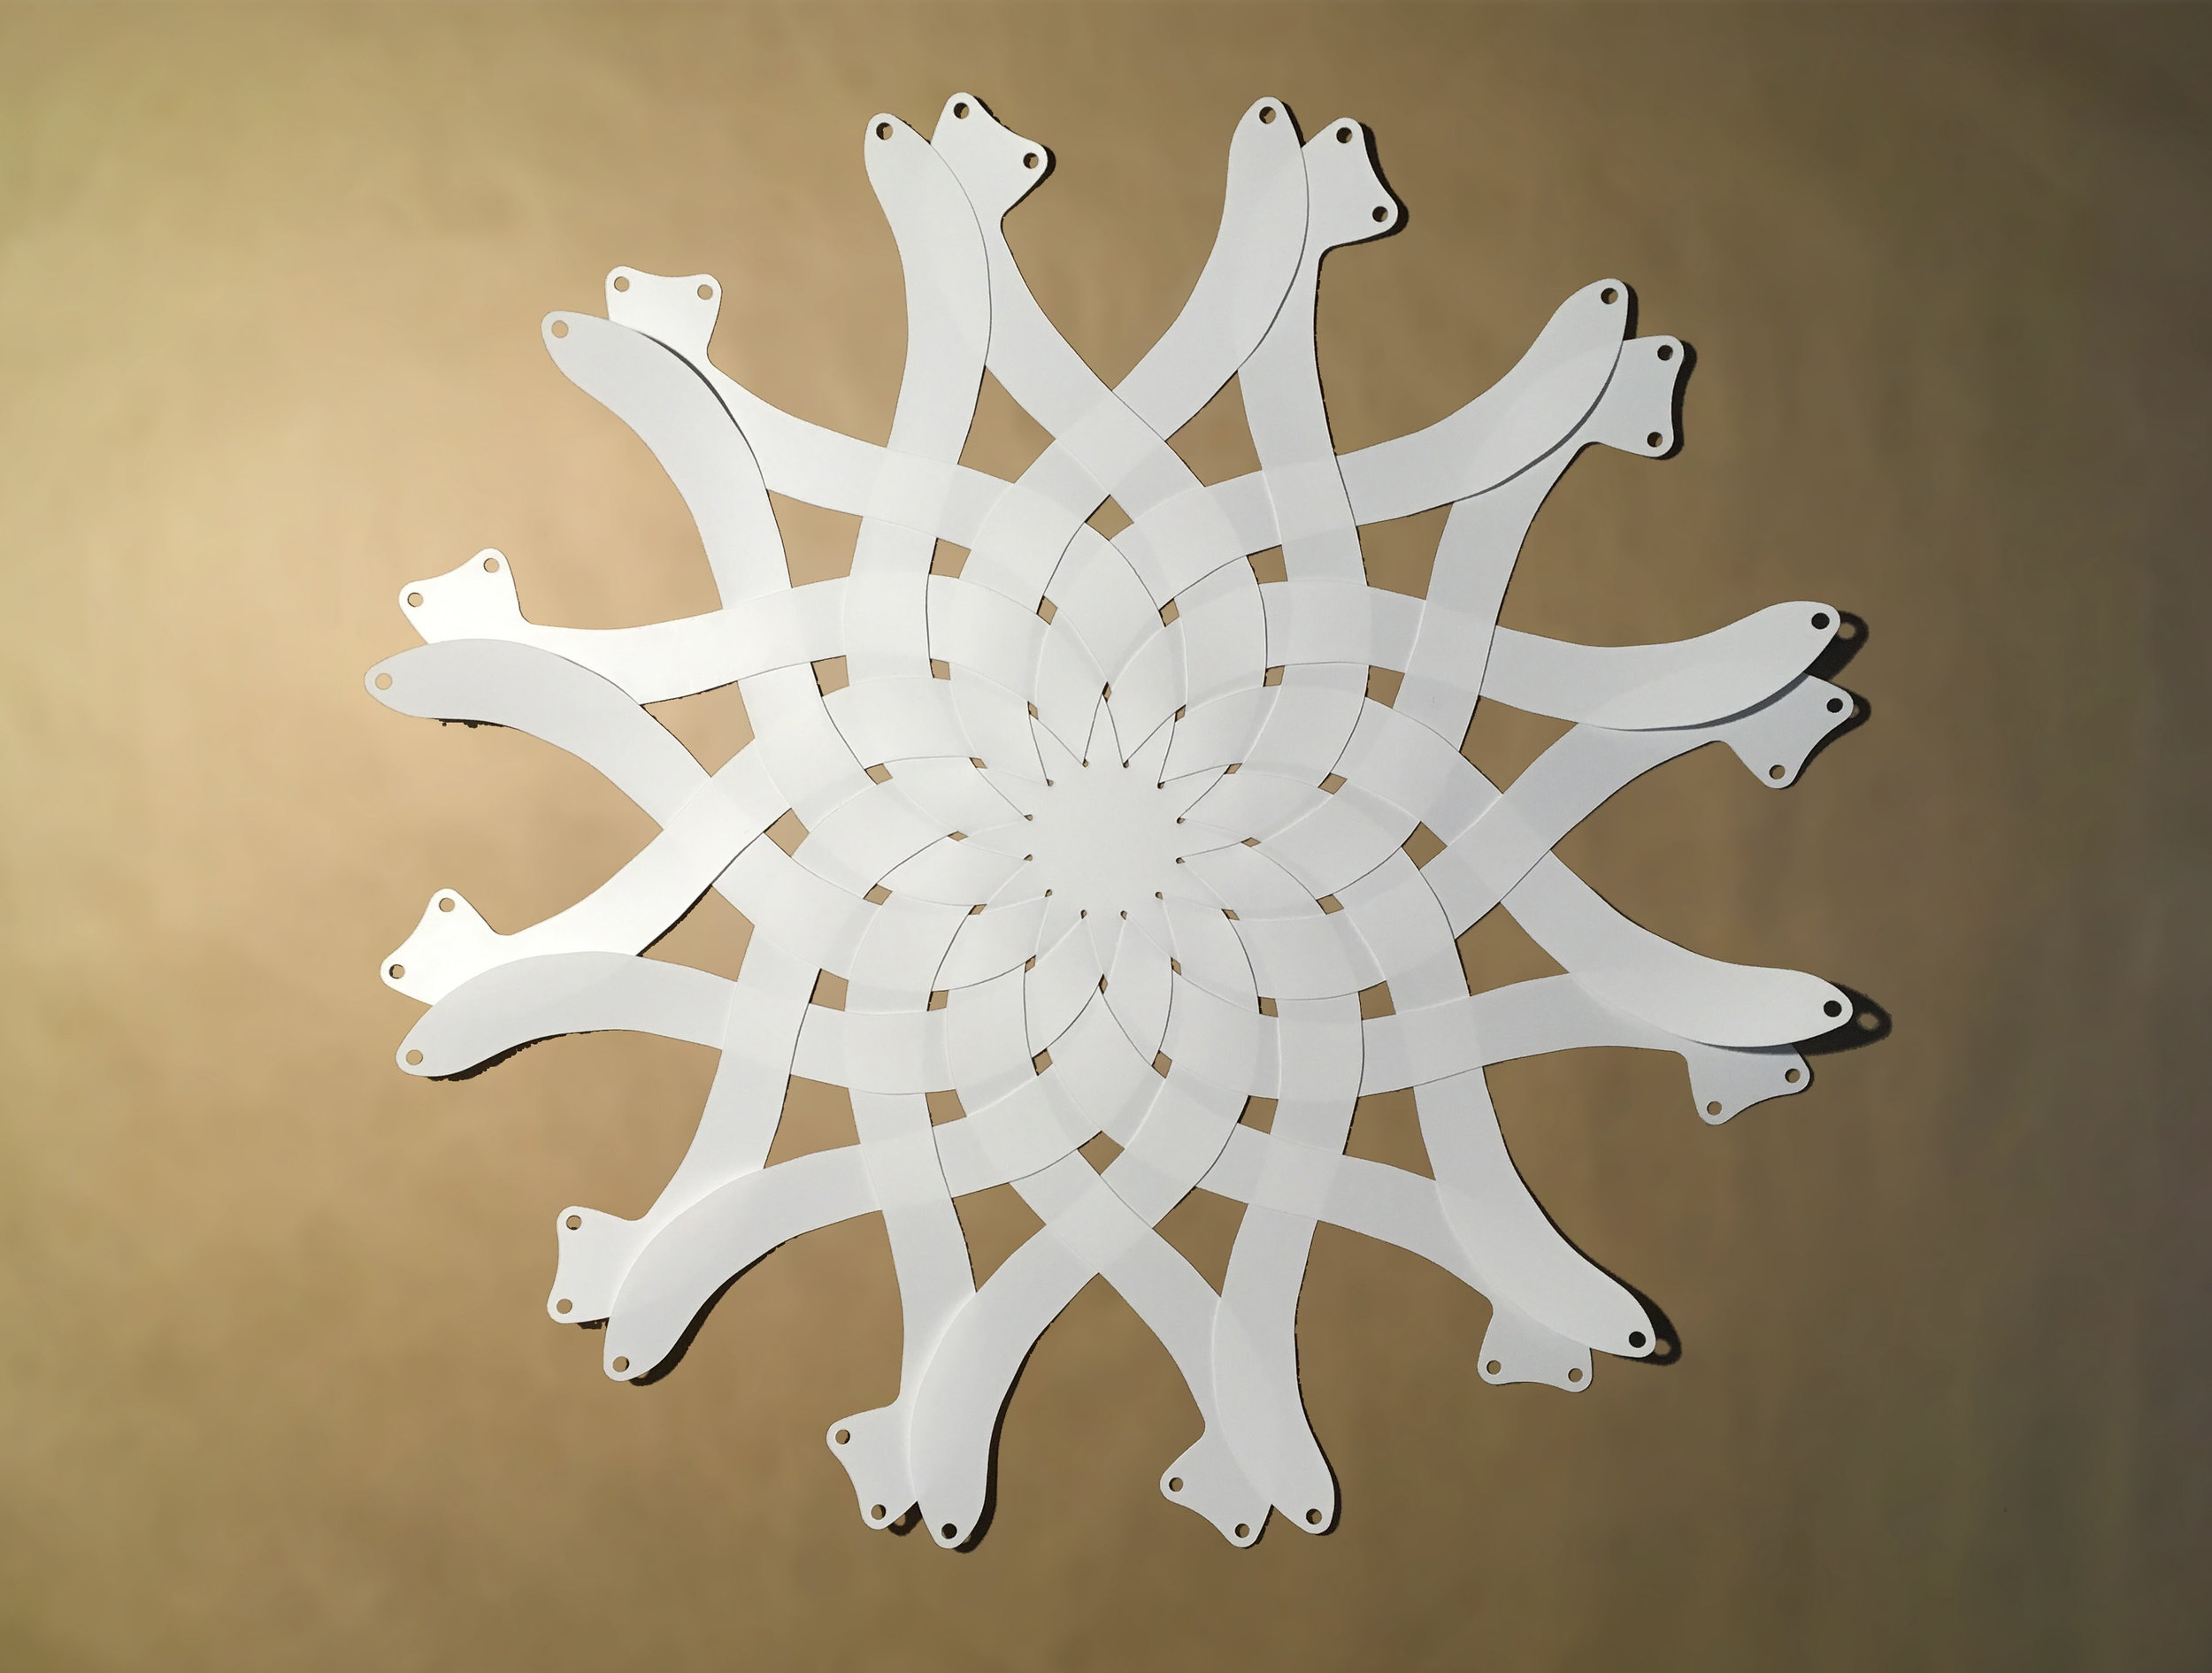
Keep weaving until every branch is passing over-under-over-under the others.
Check you haven’t missed any!
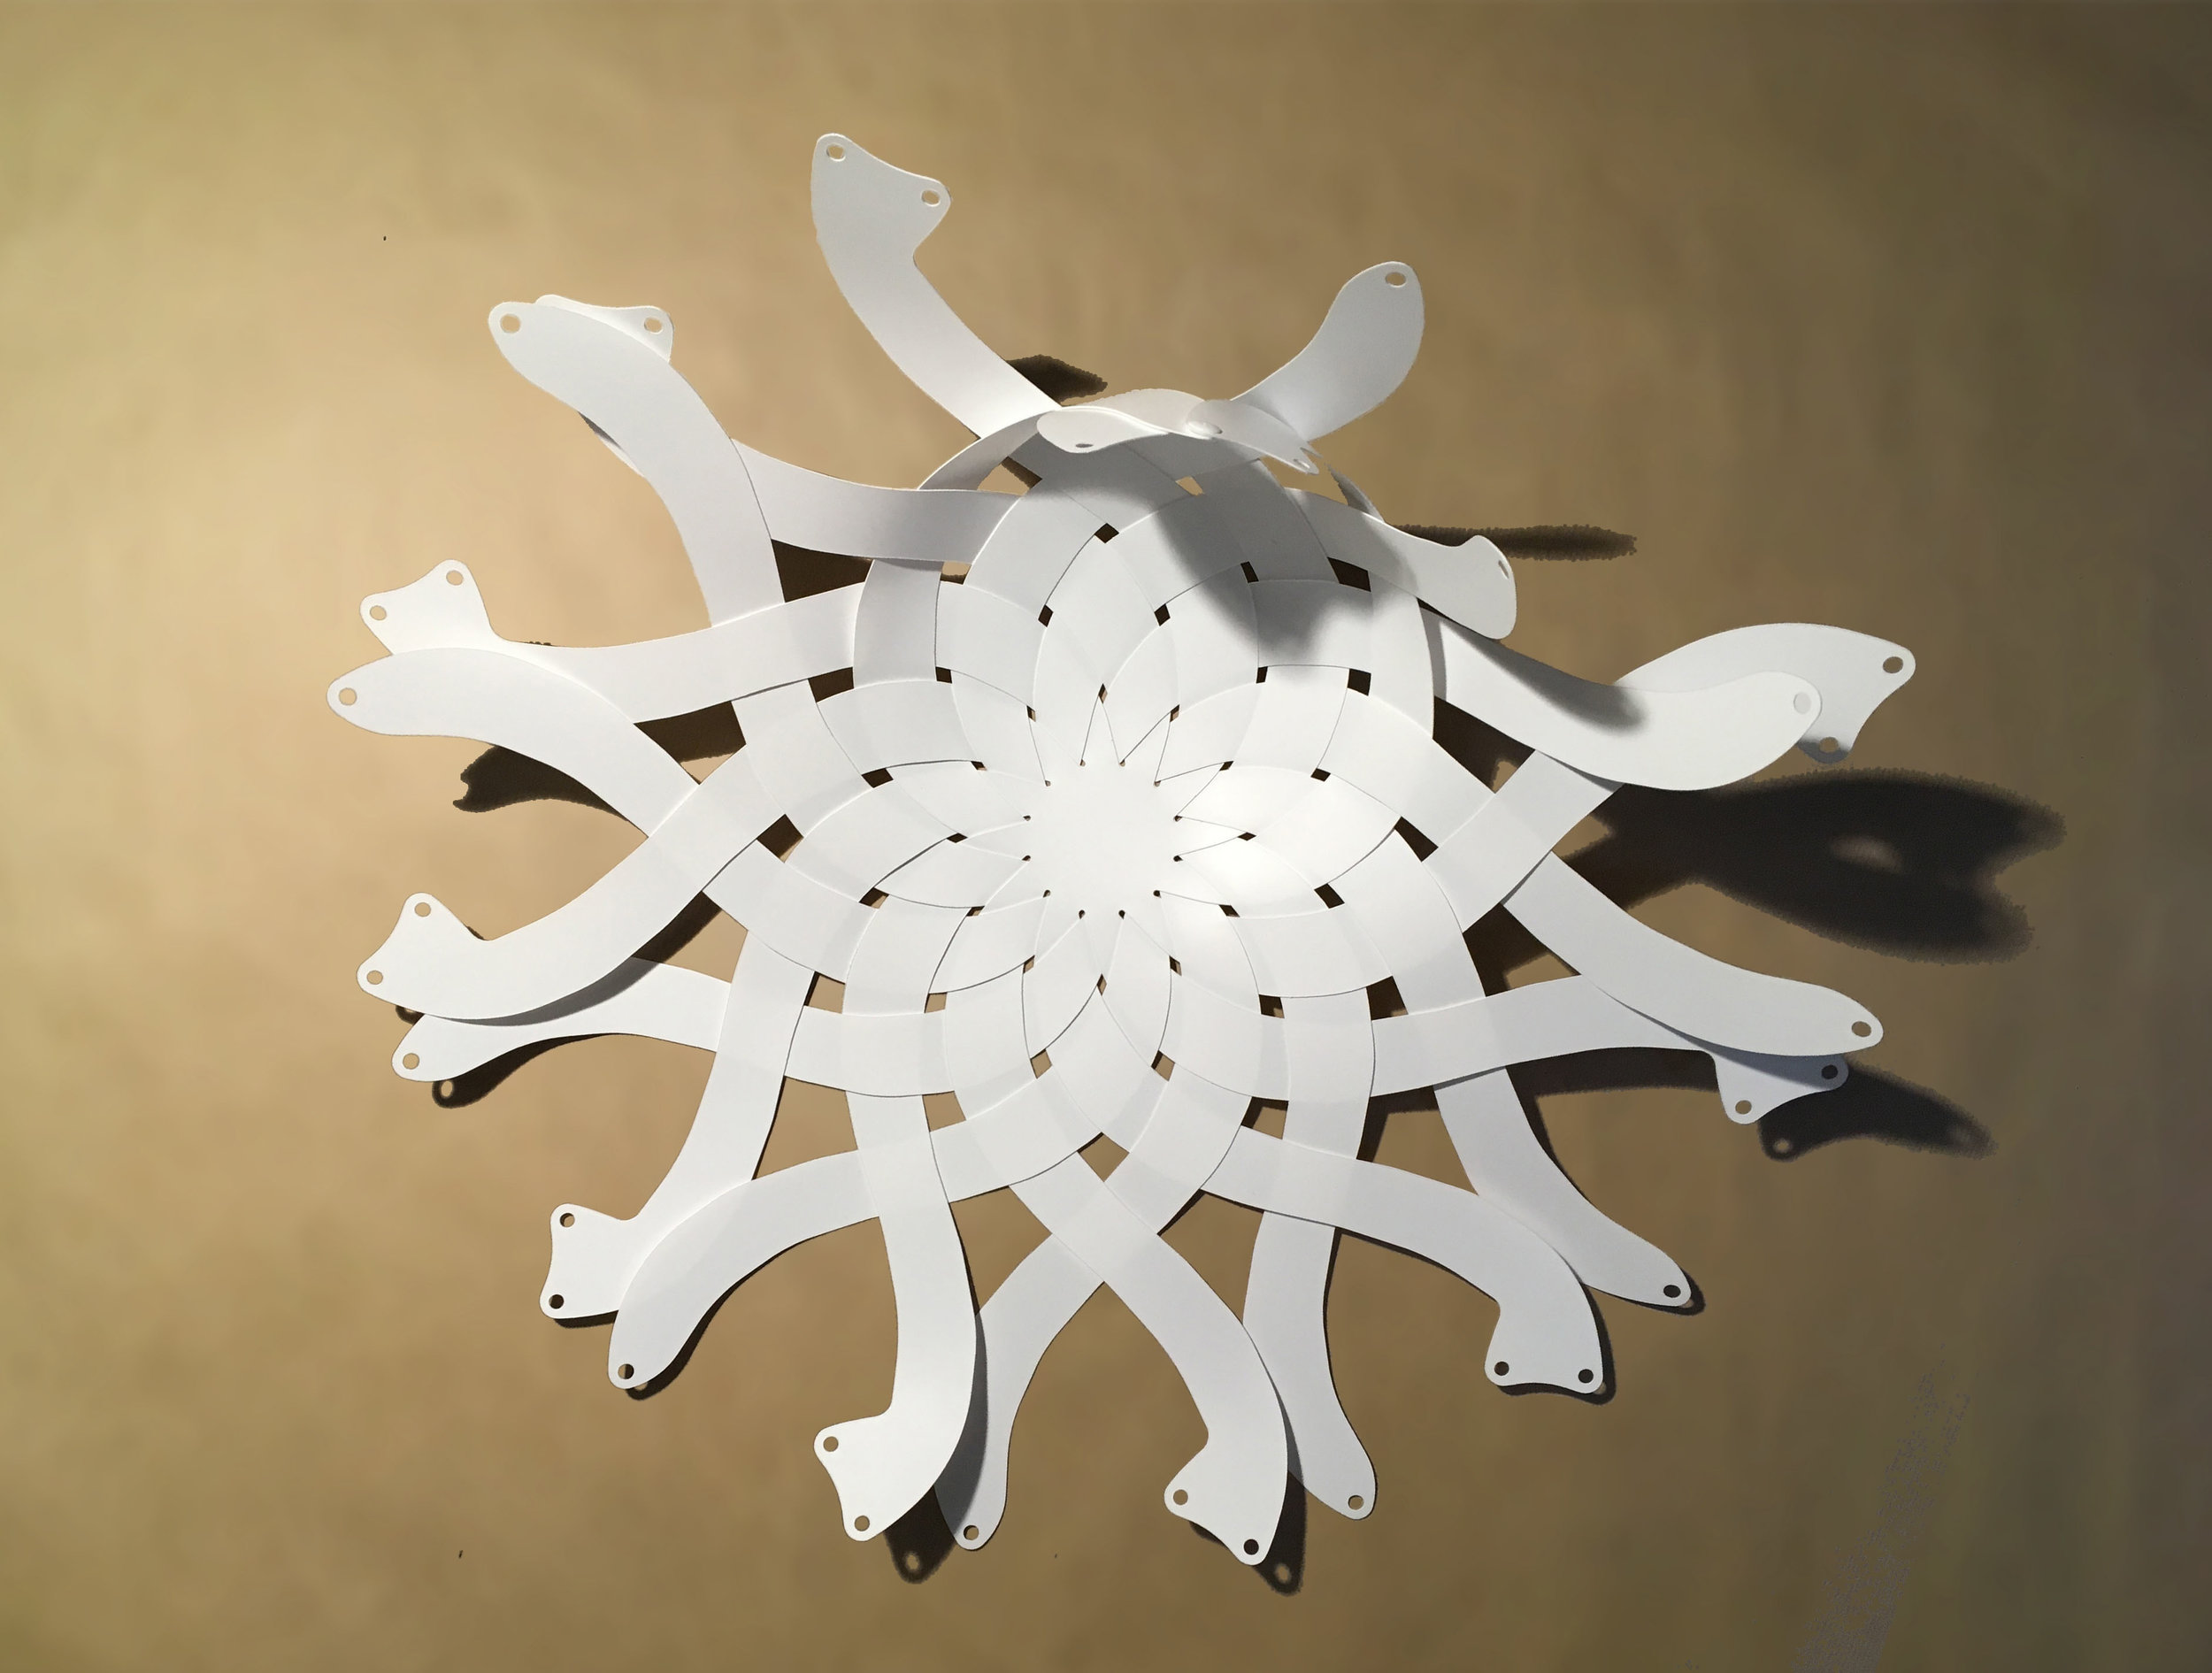
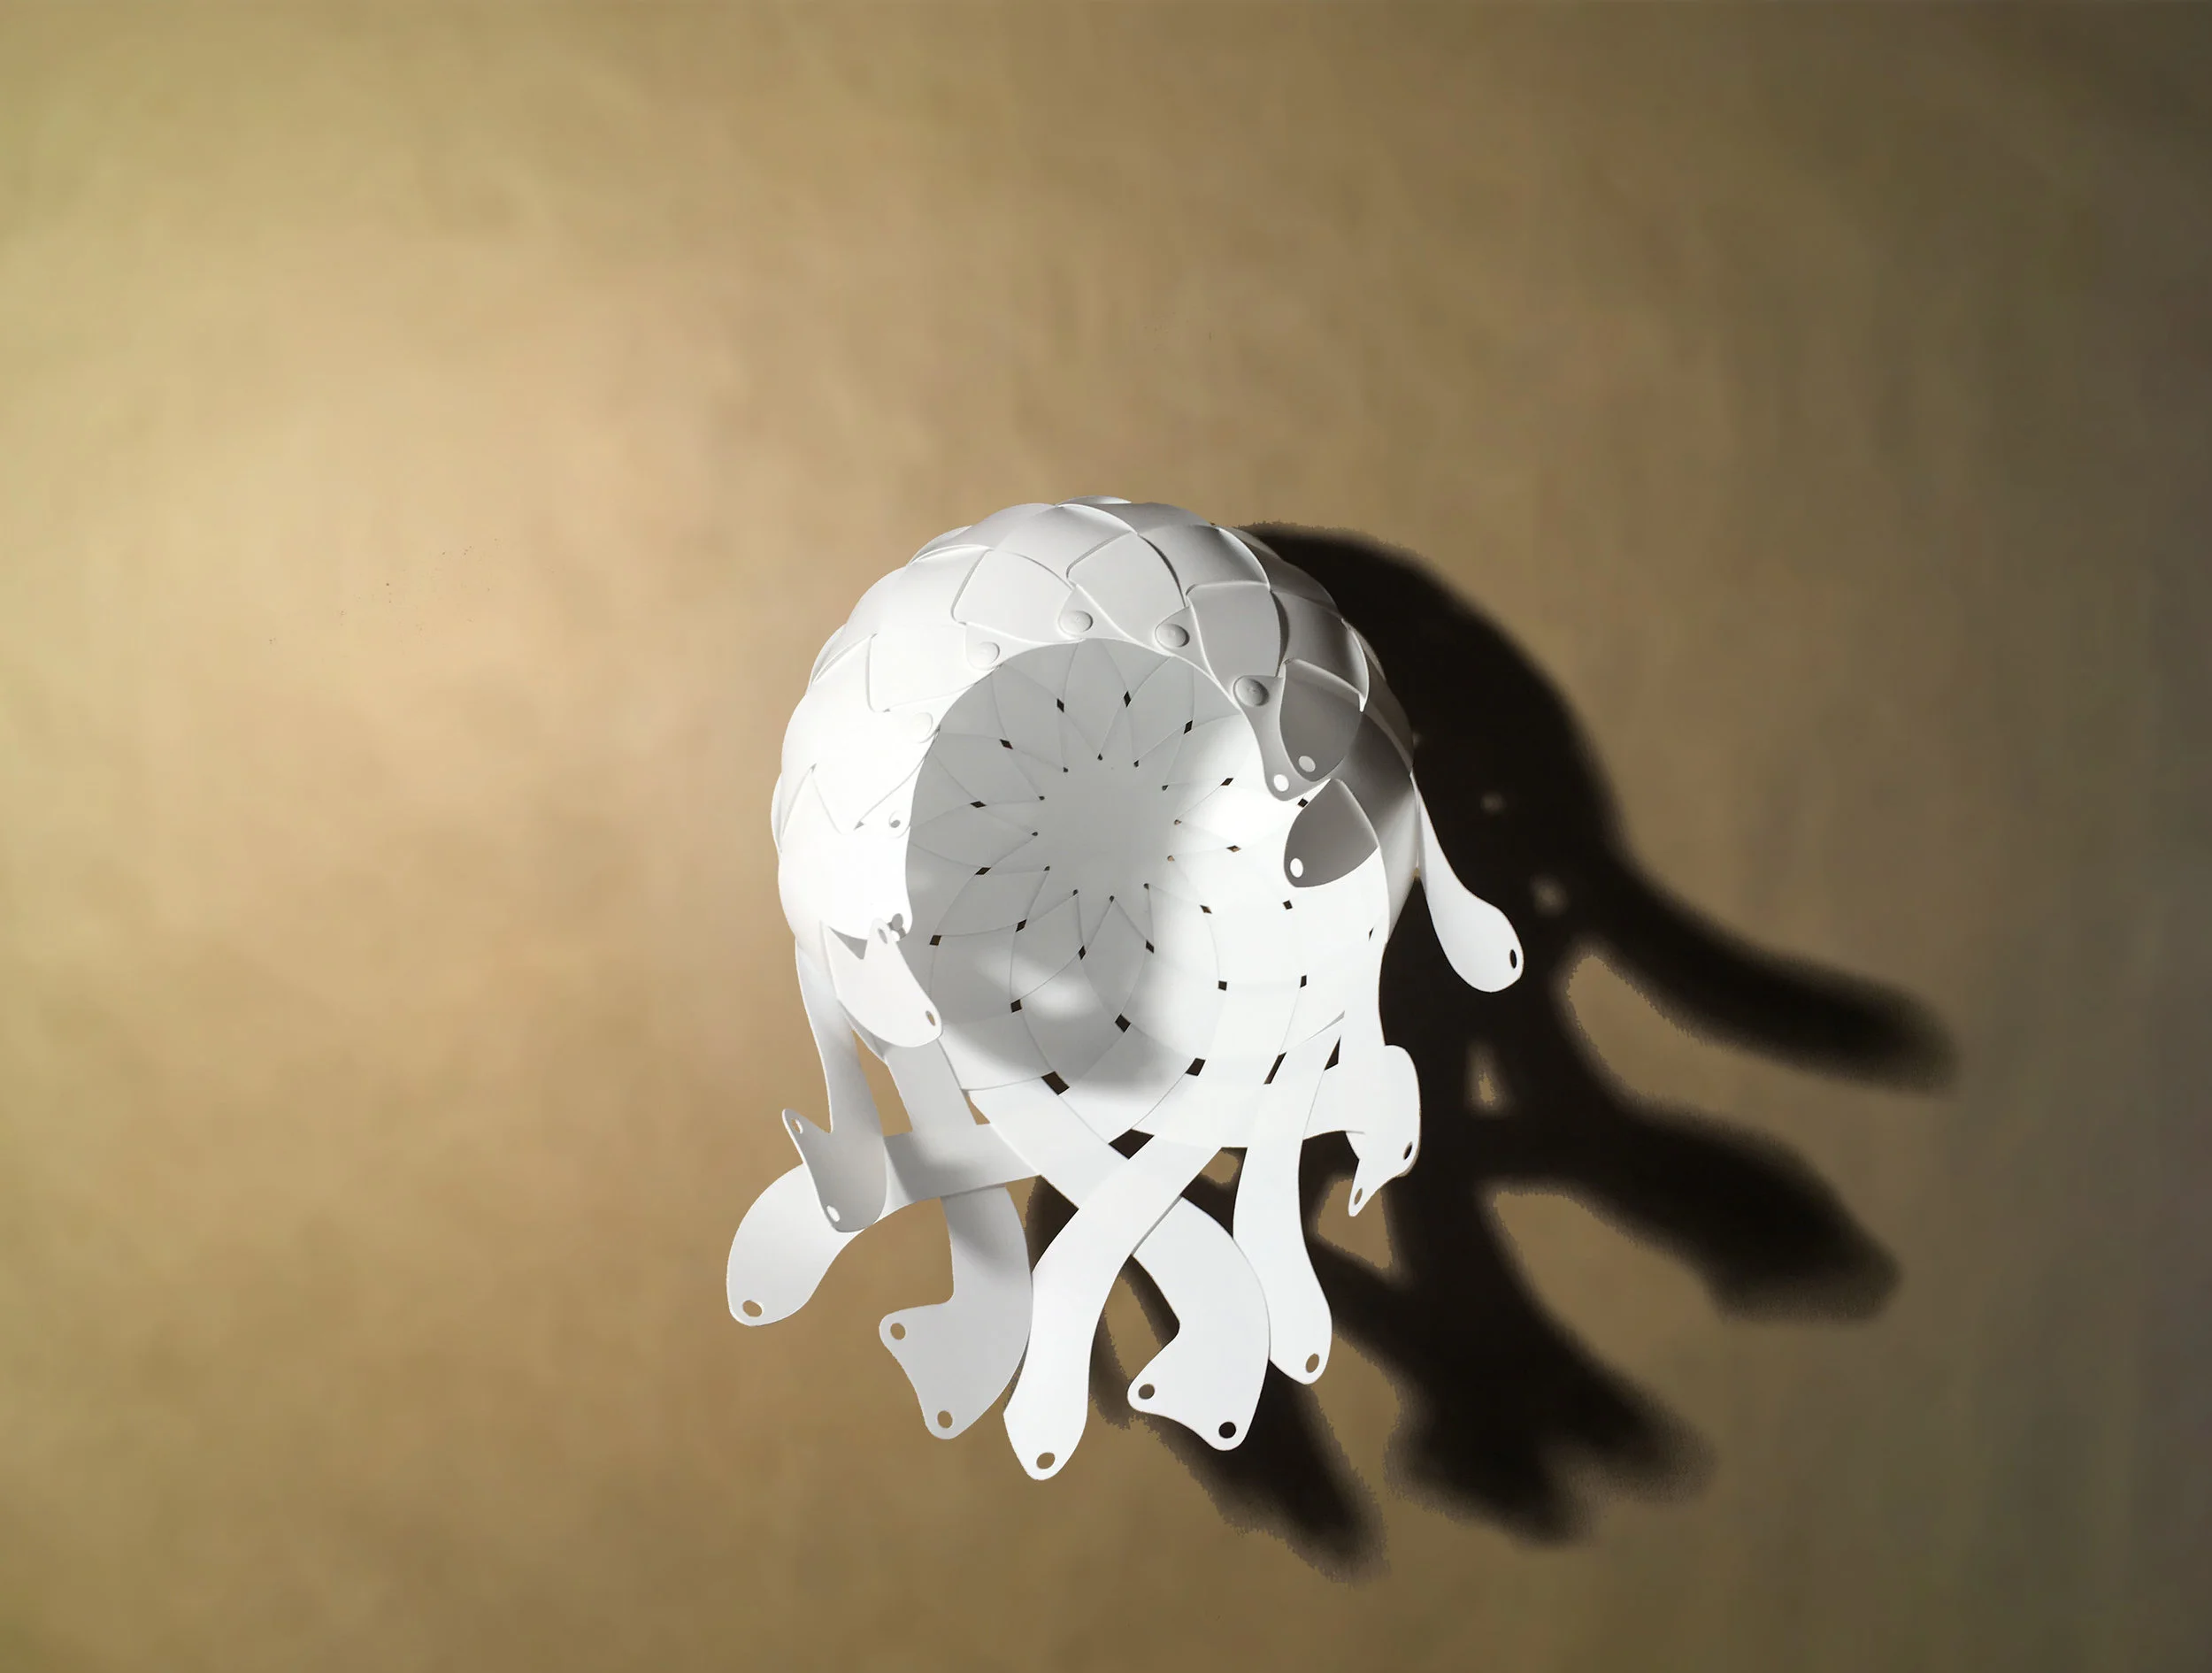
Now it’s time to get weaving in 3D.
Start by bringing two branches together, then add a third.
Tip: A clothes peg or bulldog clip is a useful extra pair of fingers at this stage.
When you’ve woven to the end of three branches, use the plastic clips to clip the layers together, like this.
Tip: Don’t worry about mistakes - The clips can easily be taken apart and used again.
Keep working your way around the shade, clipping as you go. Keep the weave good and tight!

Keep clipping as you go - after a while you should see something like this.
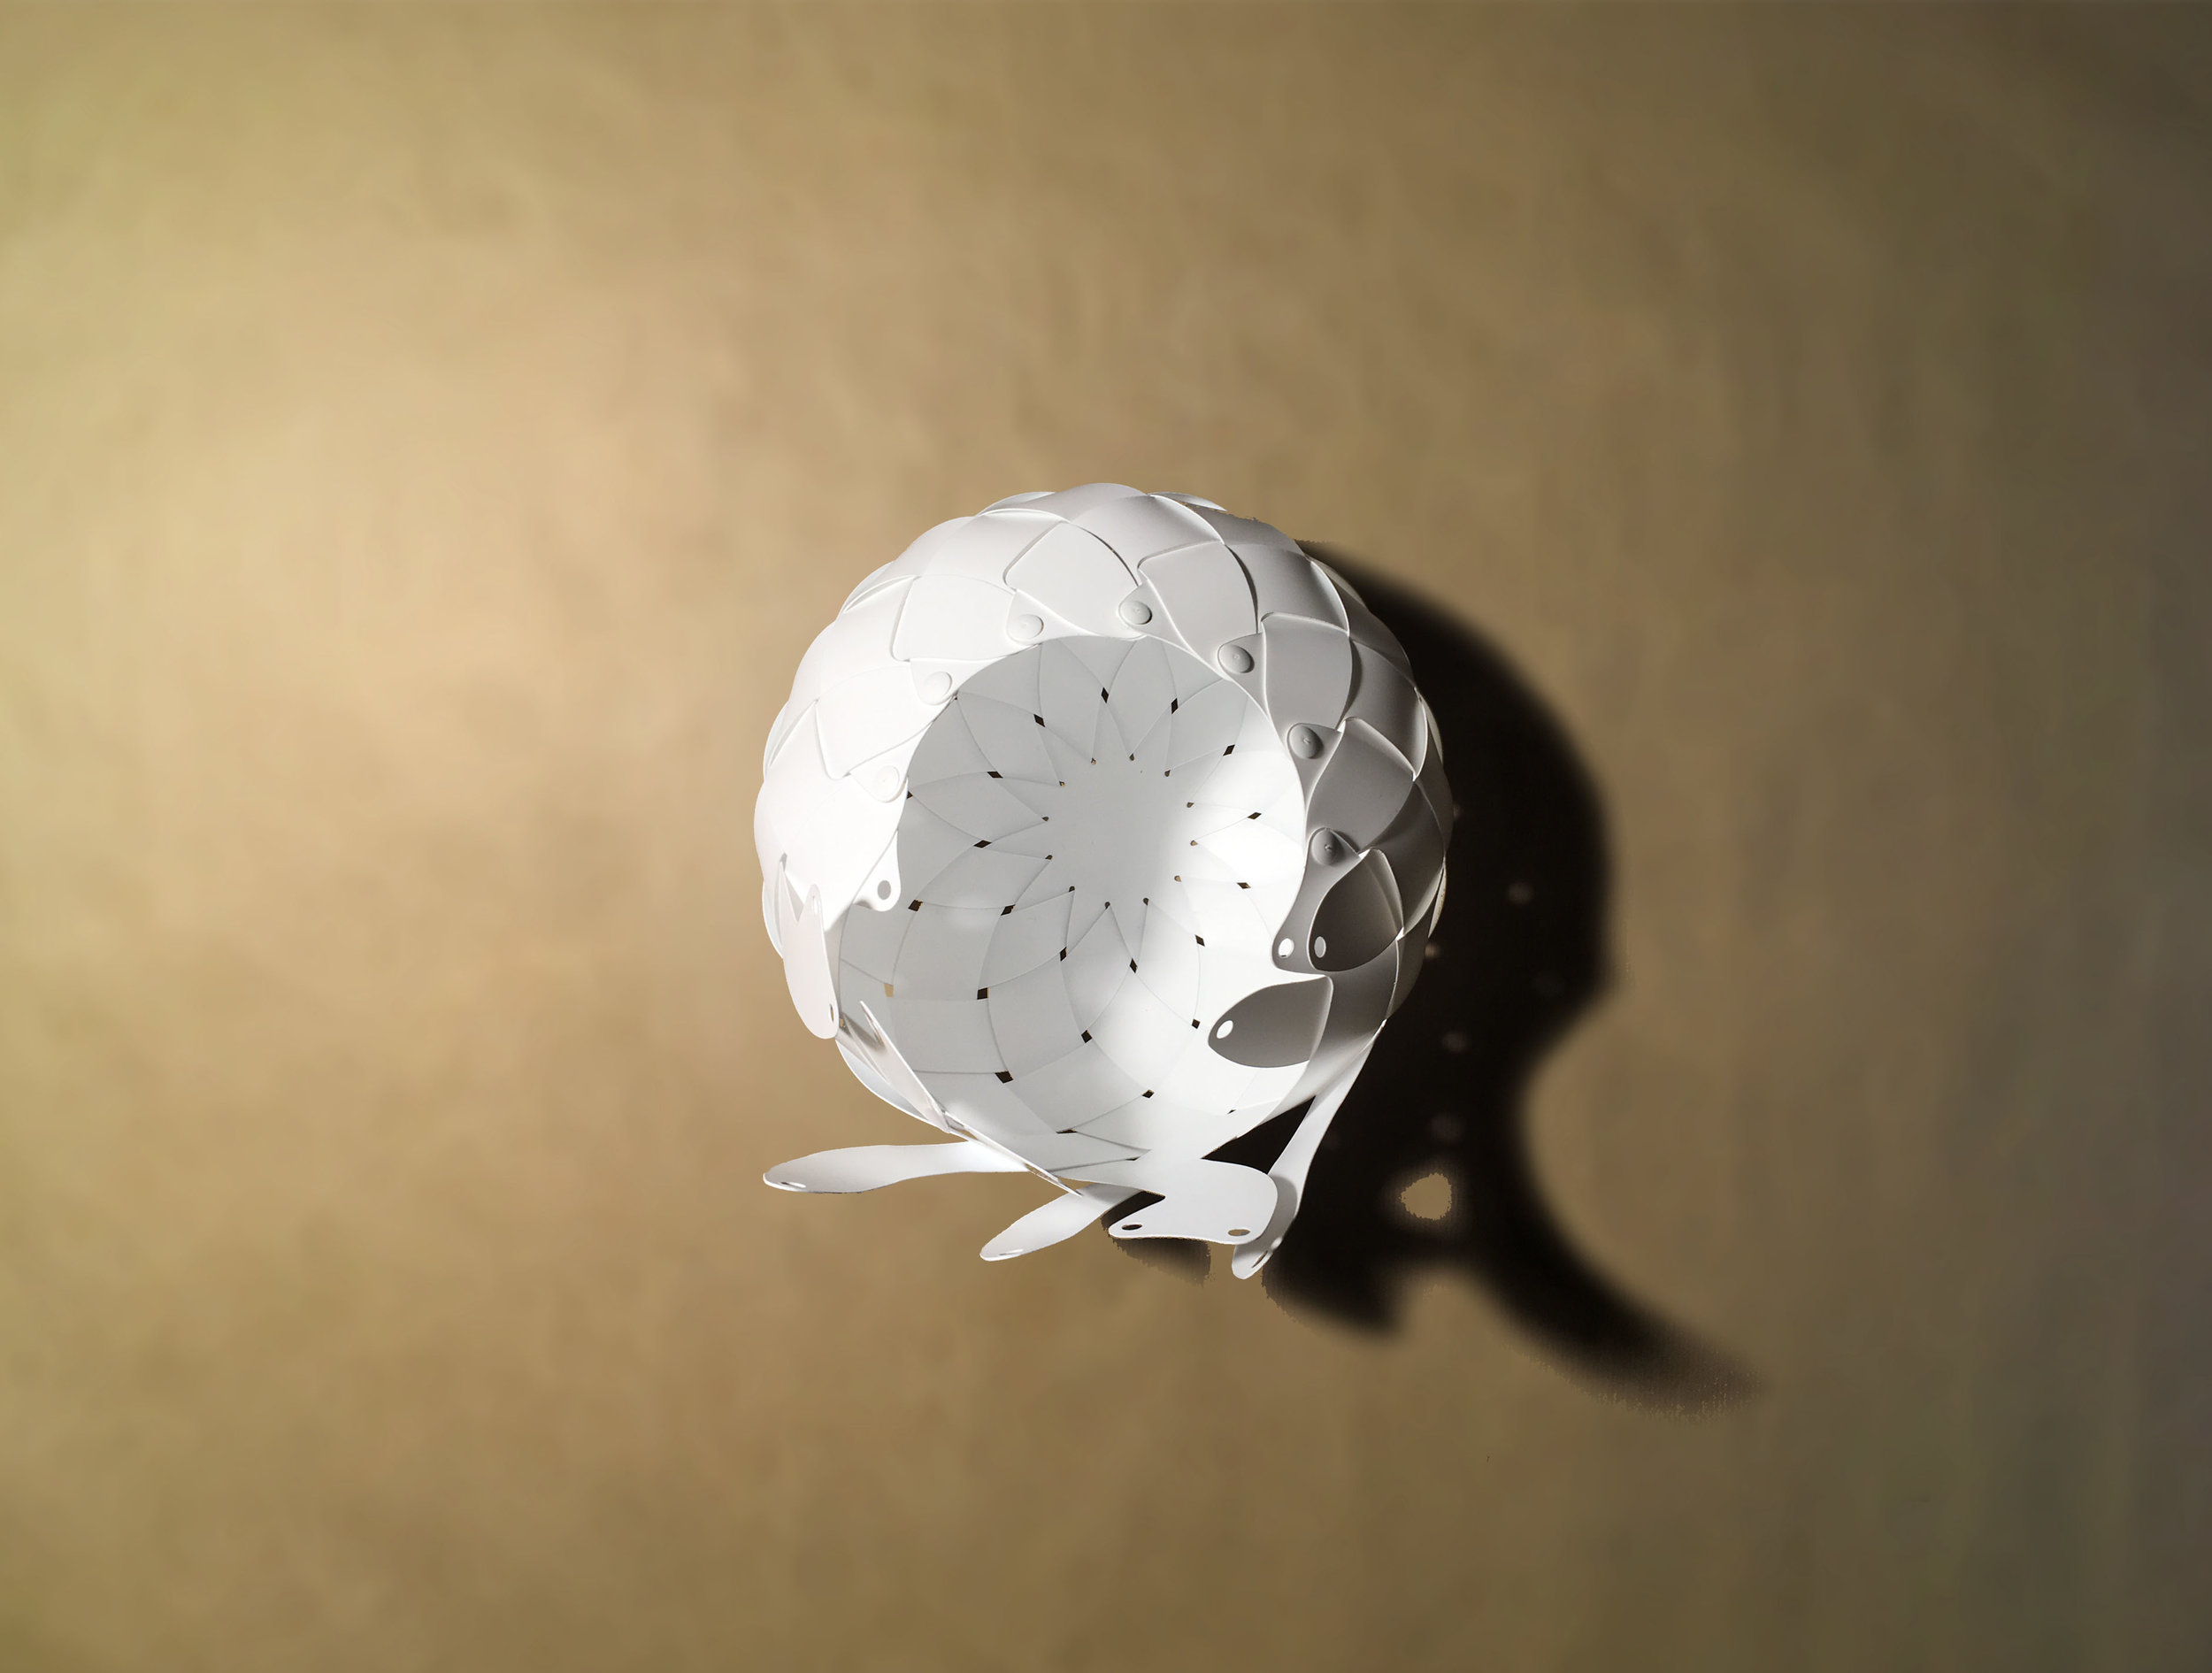
Nearly there!
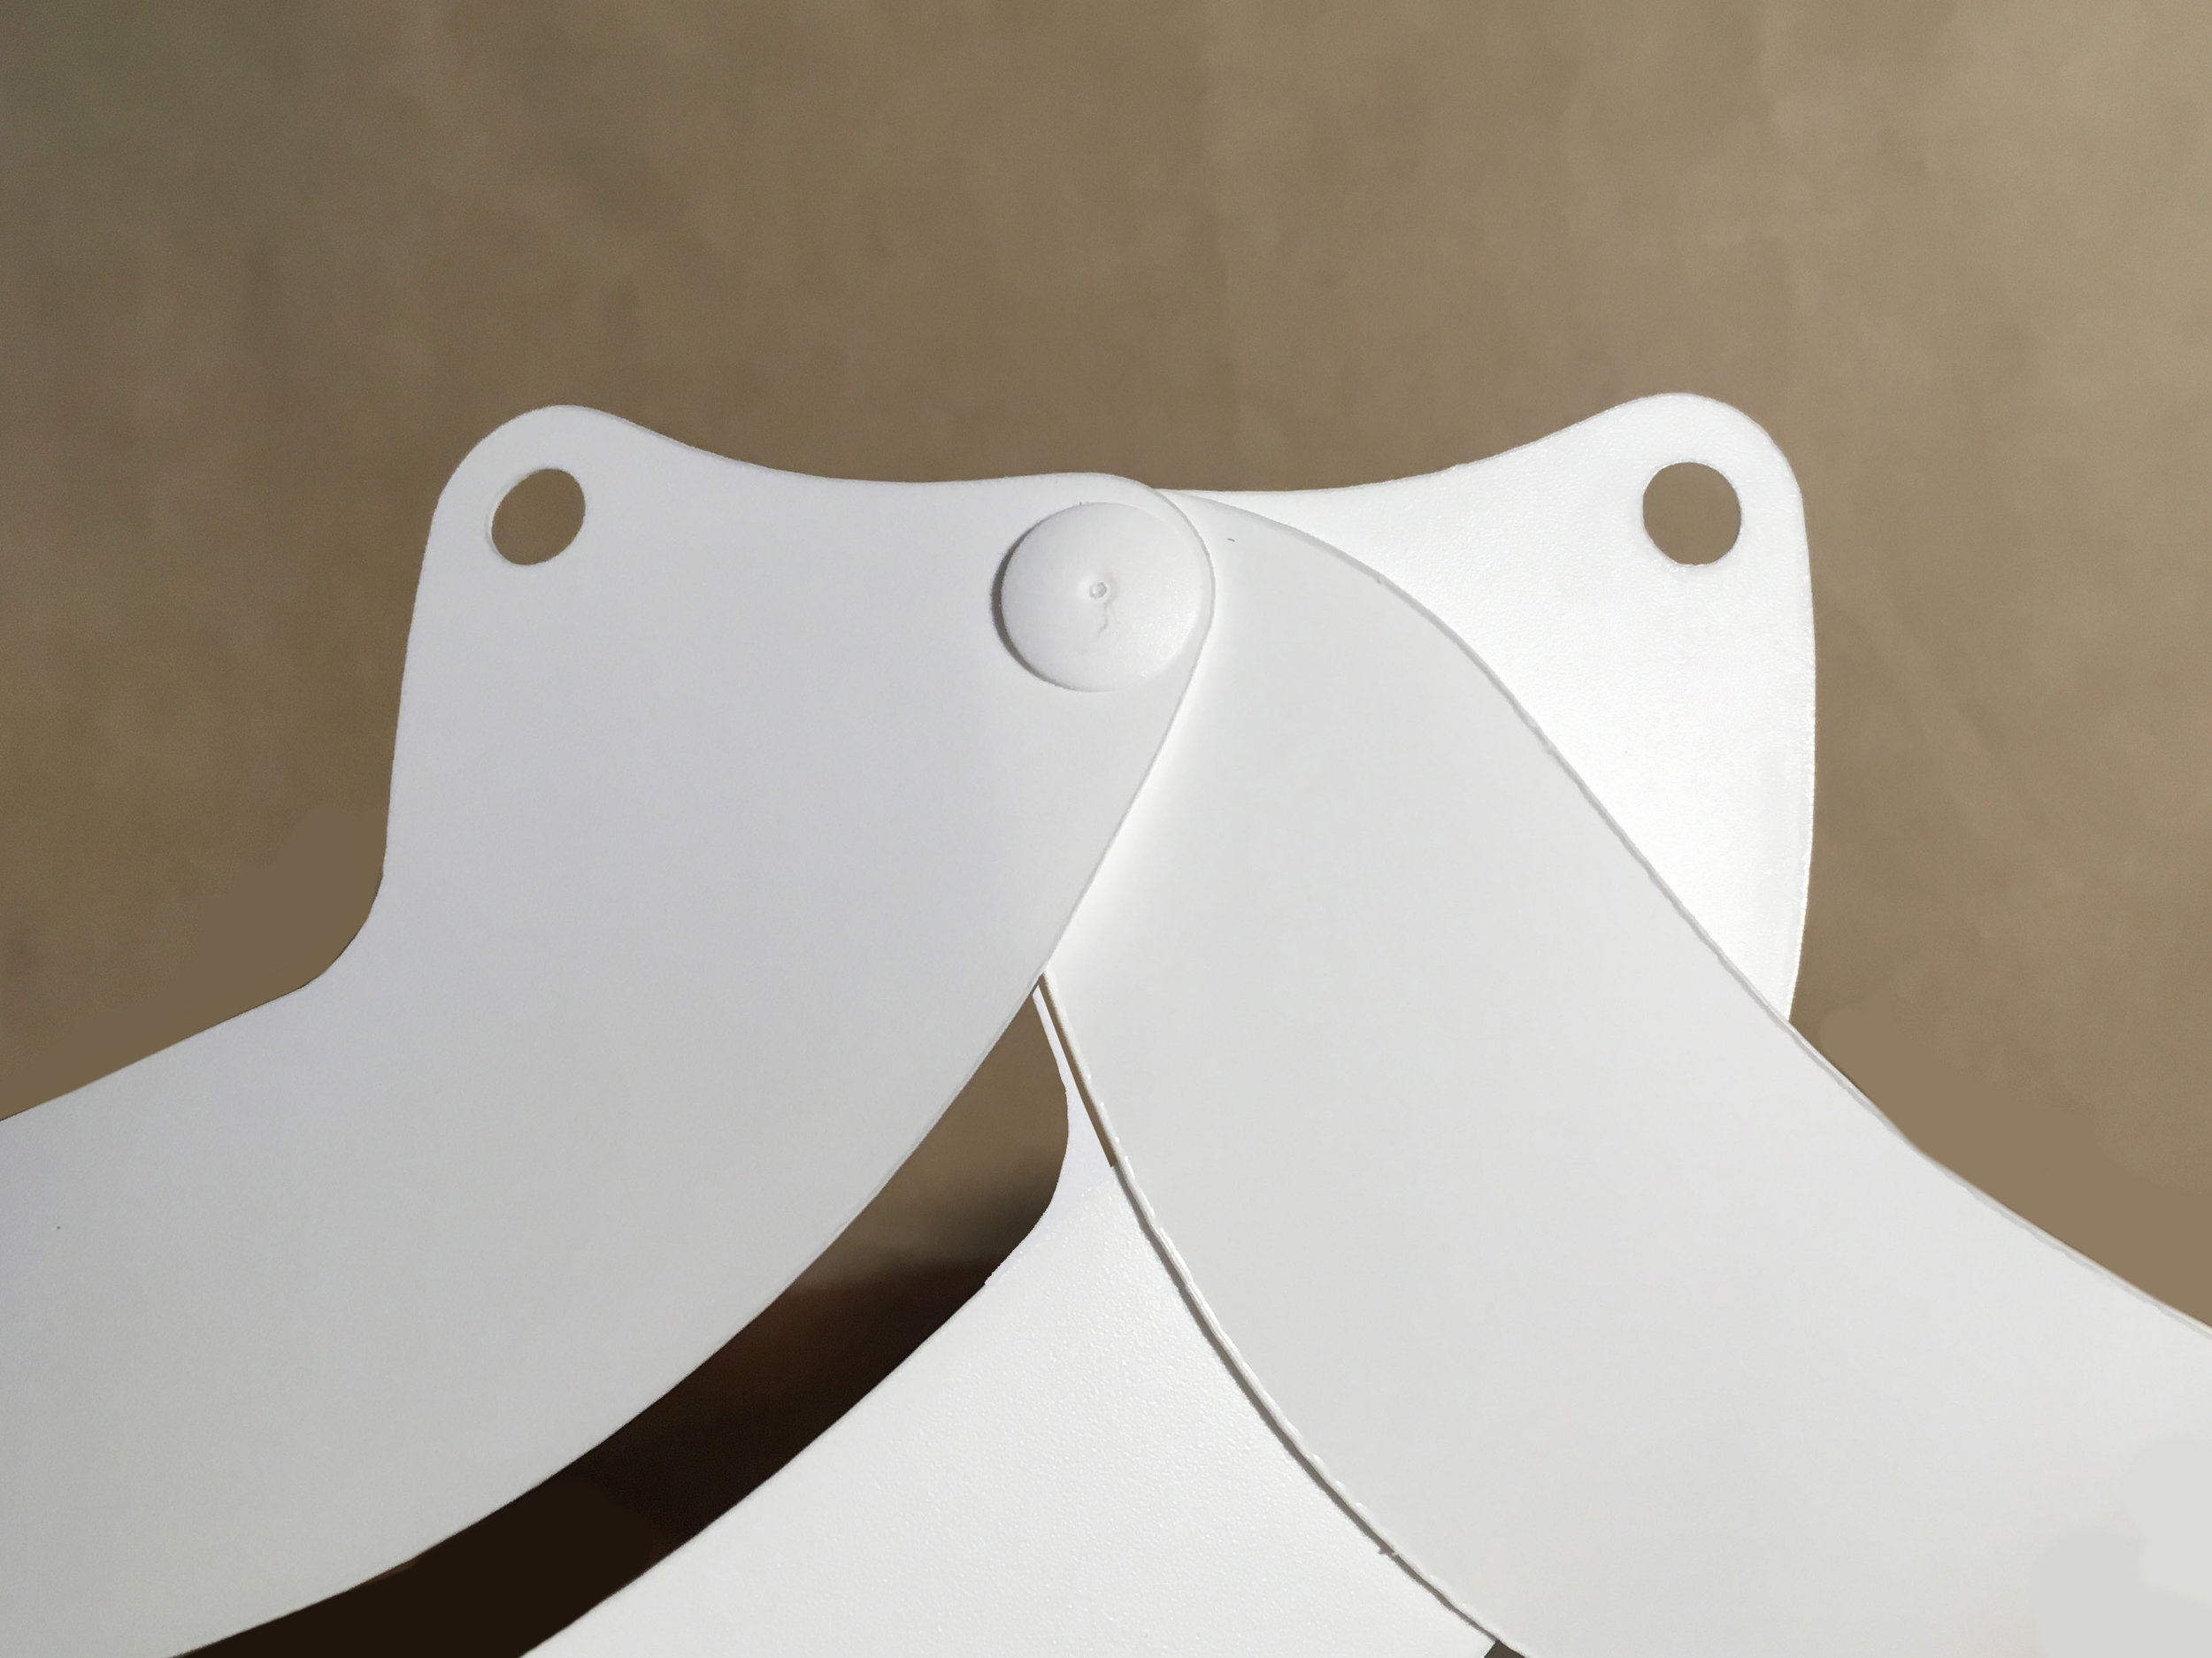
When the shade is fully woven, replace three clips with the little rubber washers…
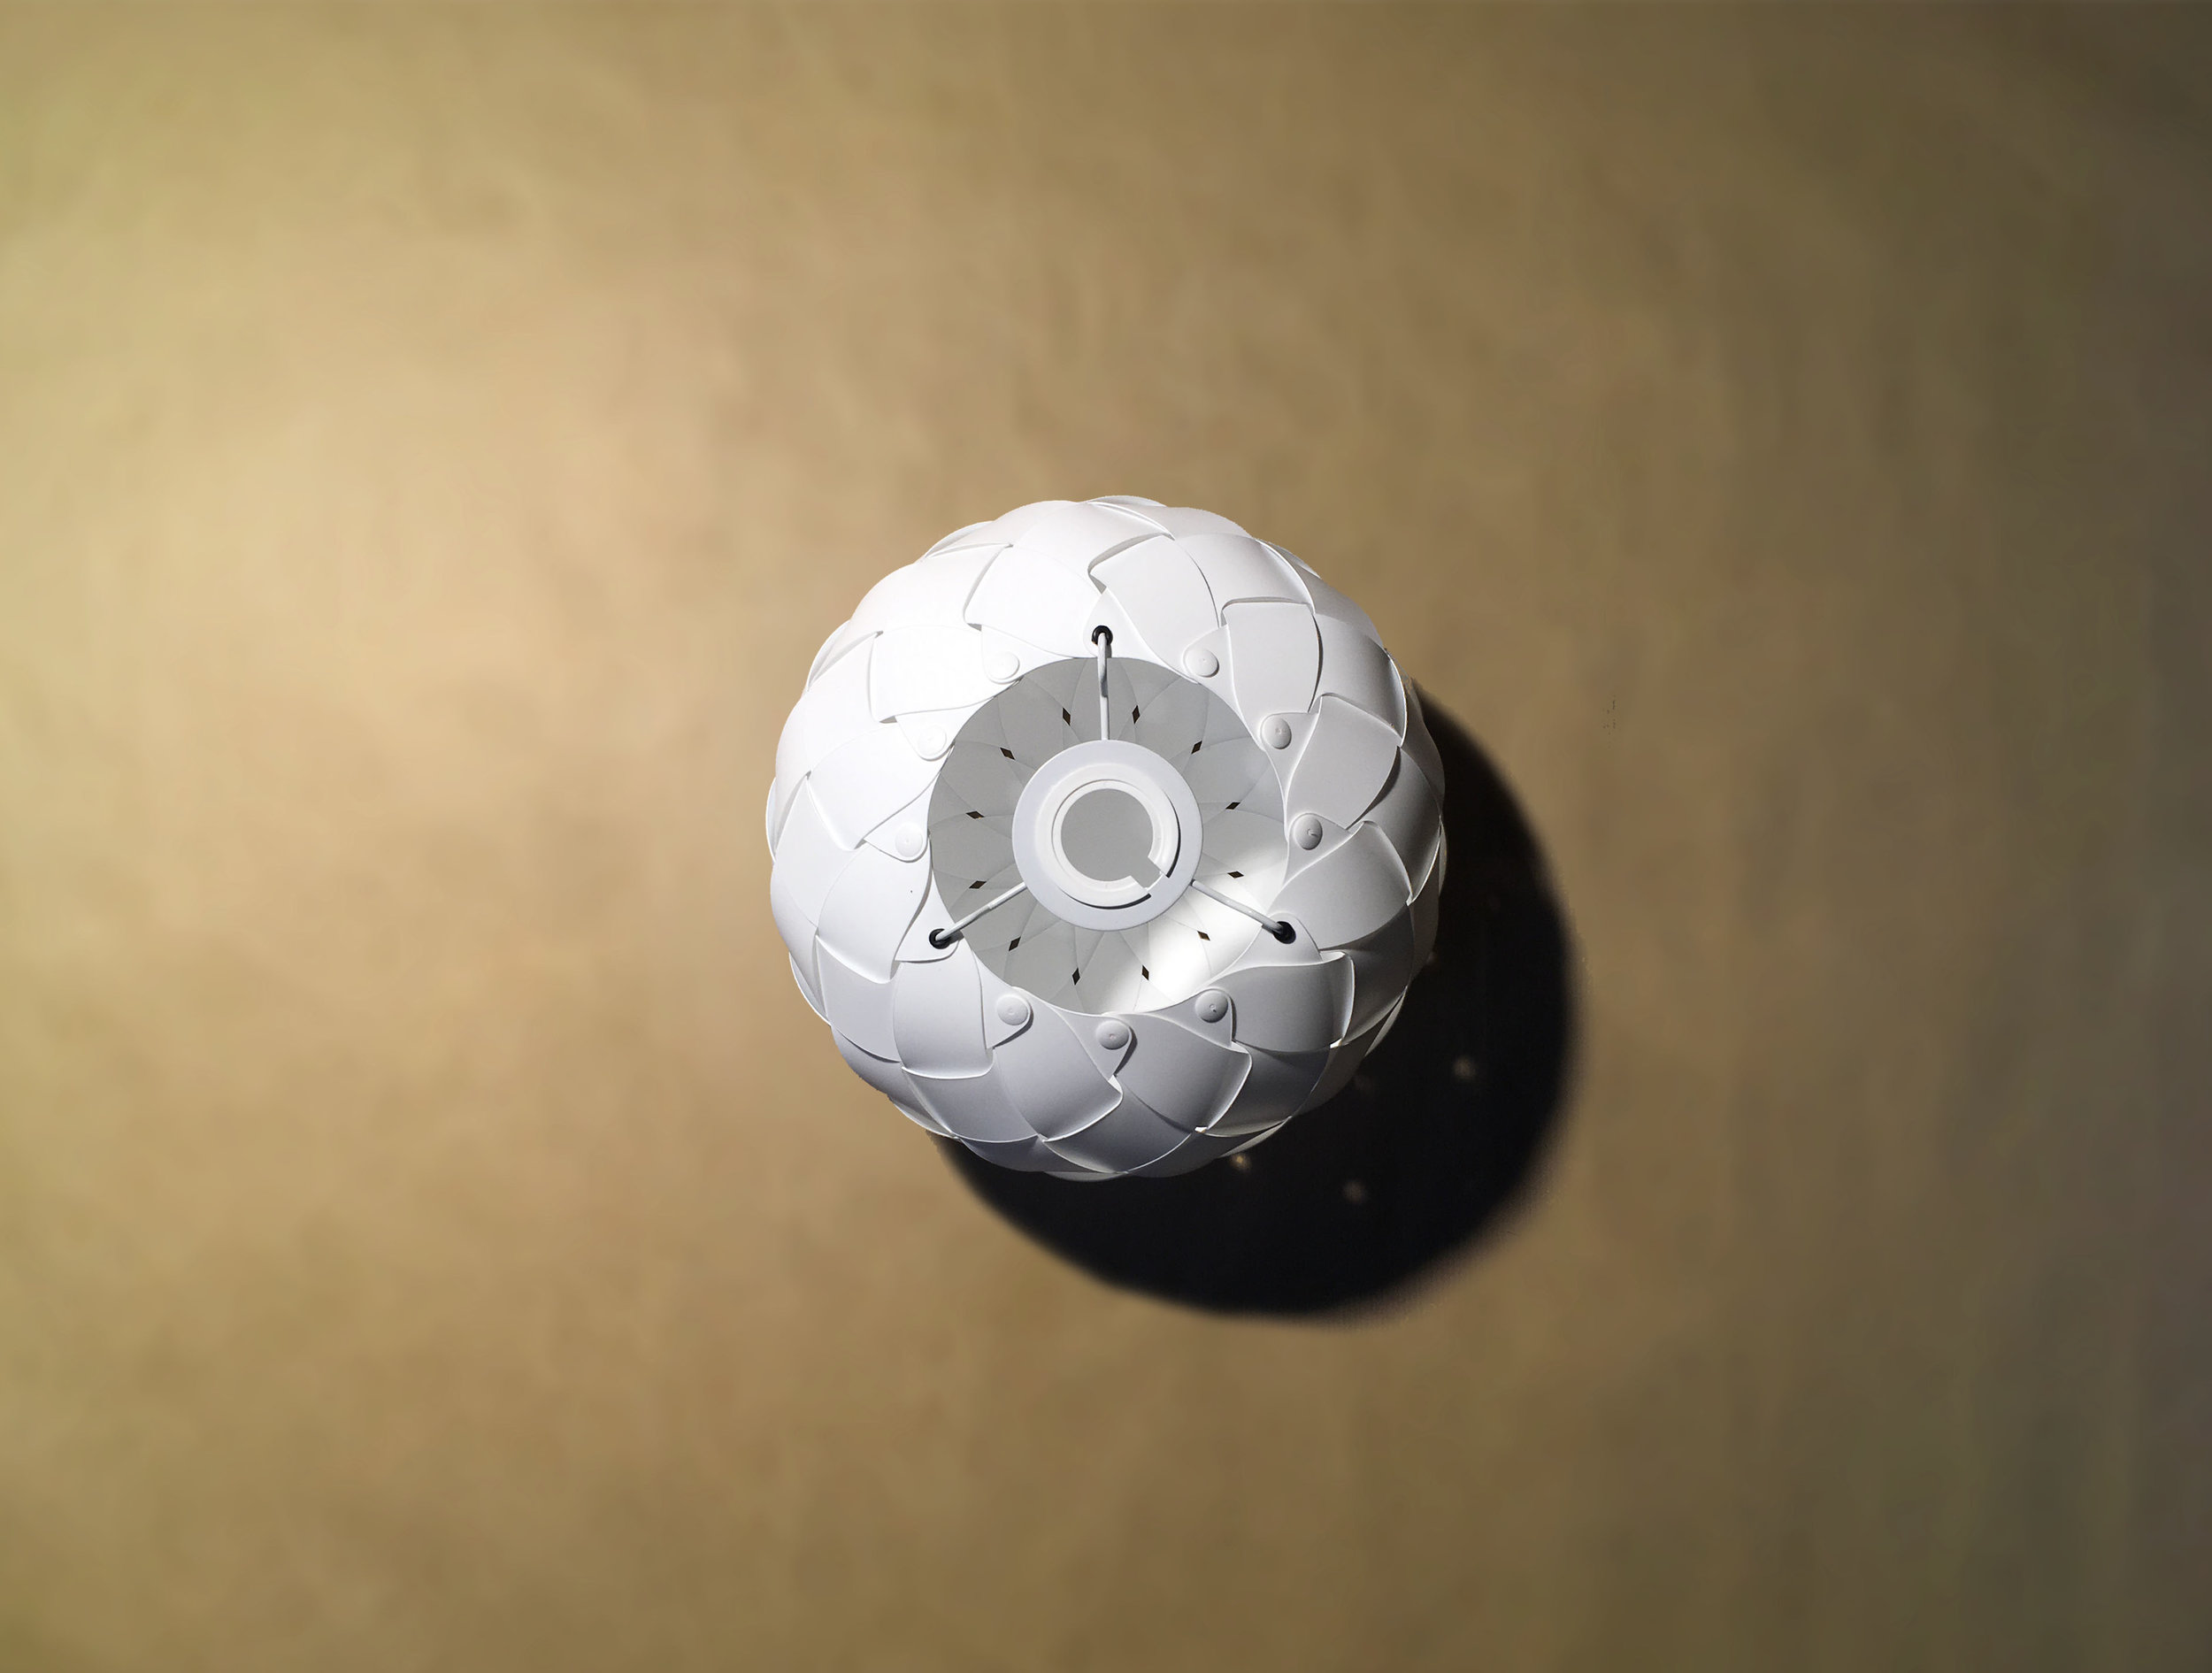
The rubber washers hold the lamp attachment in place.
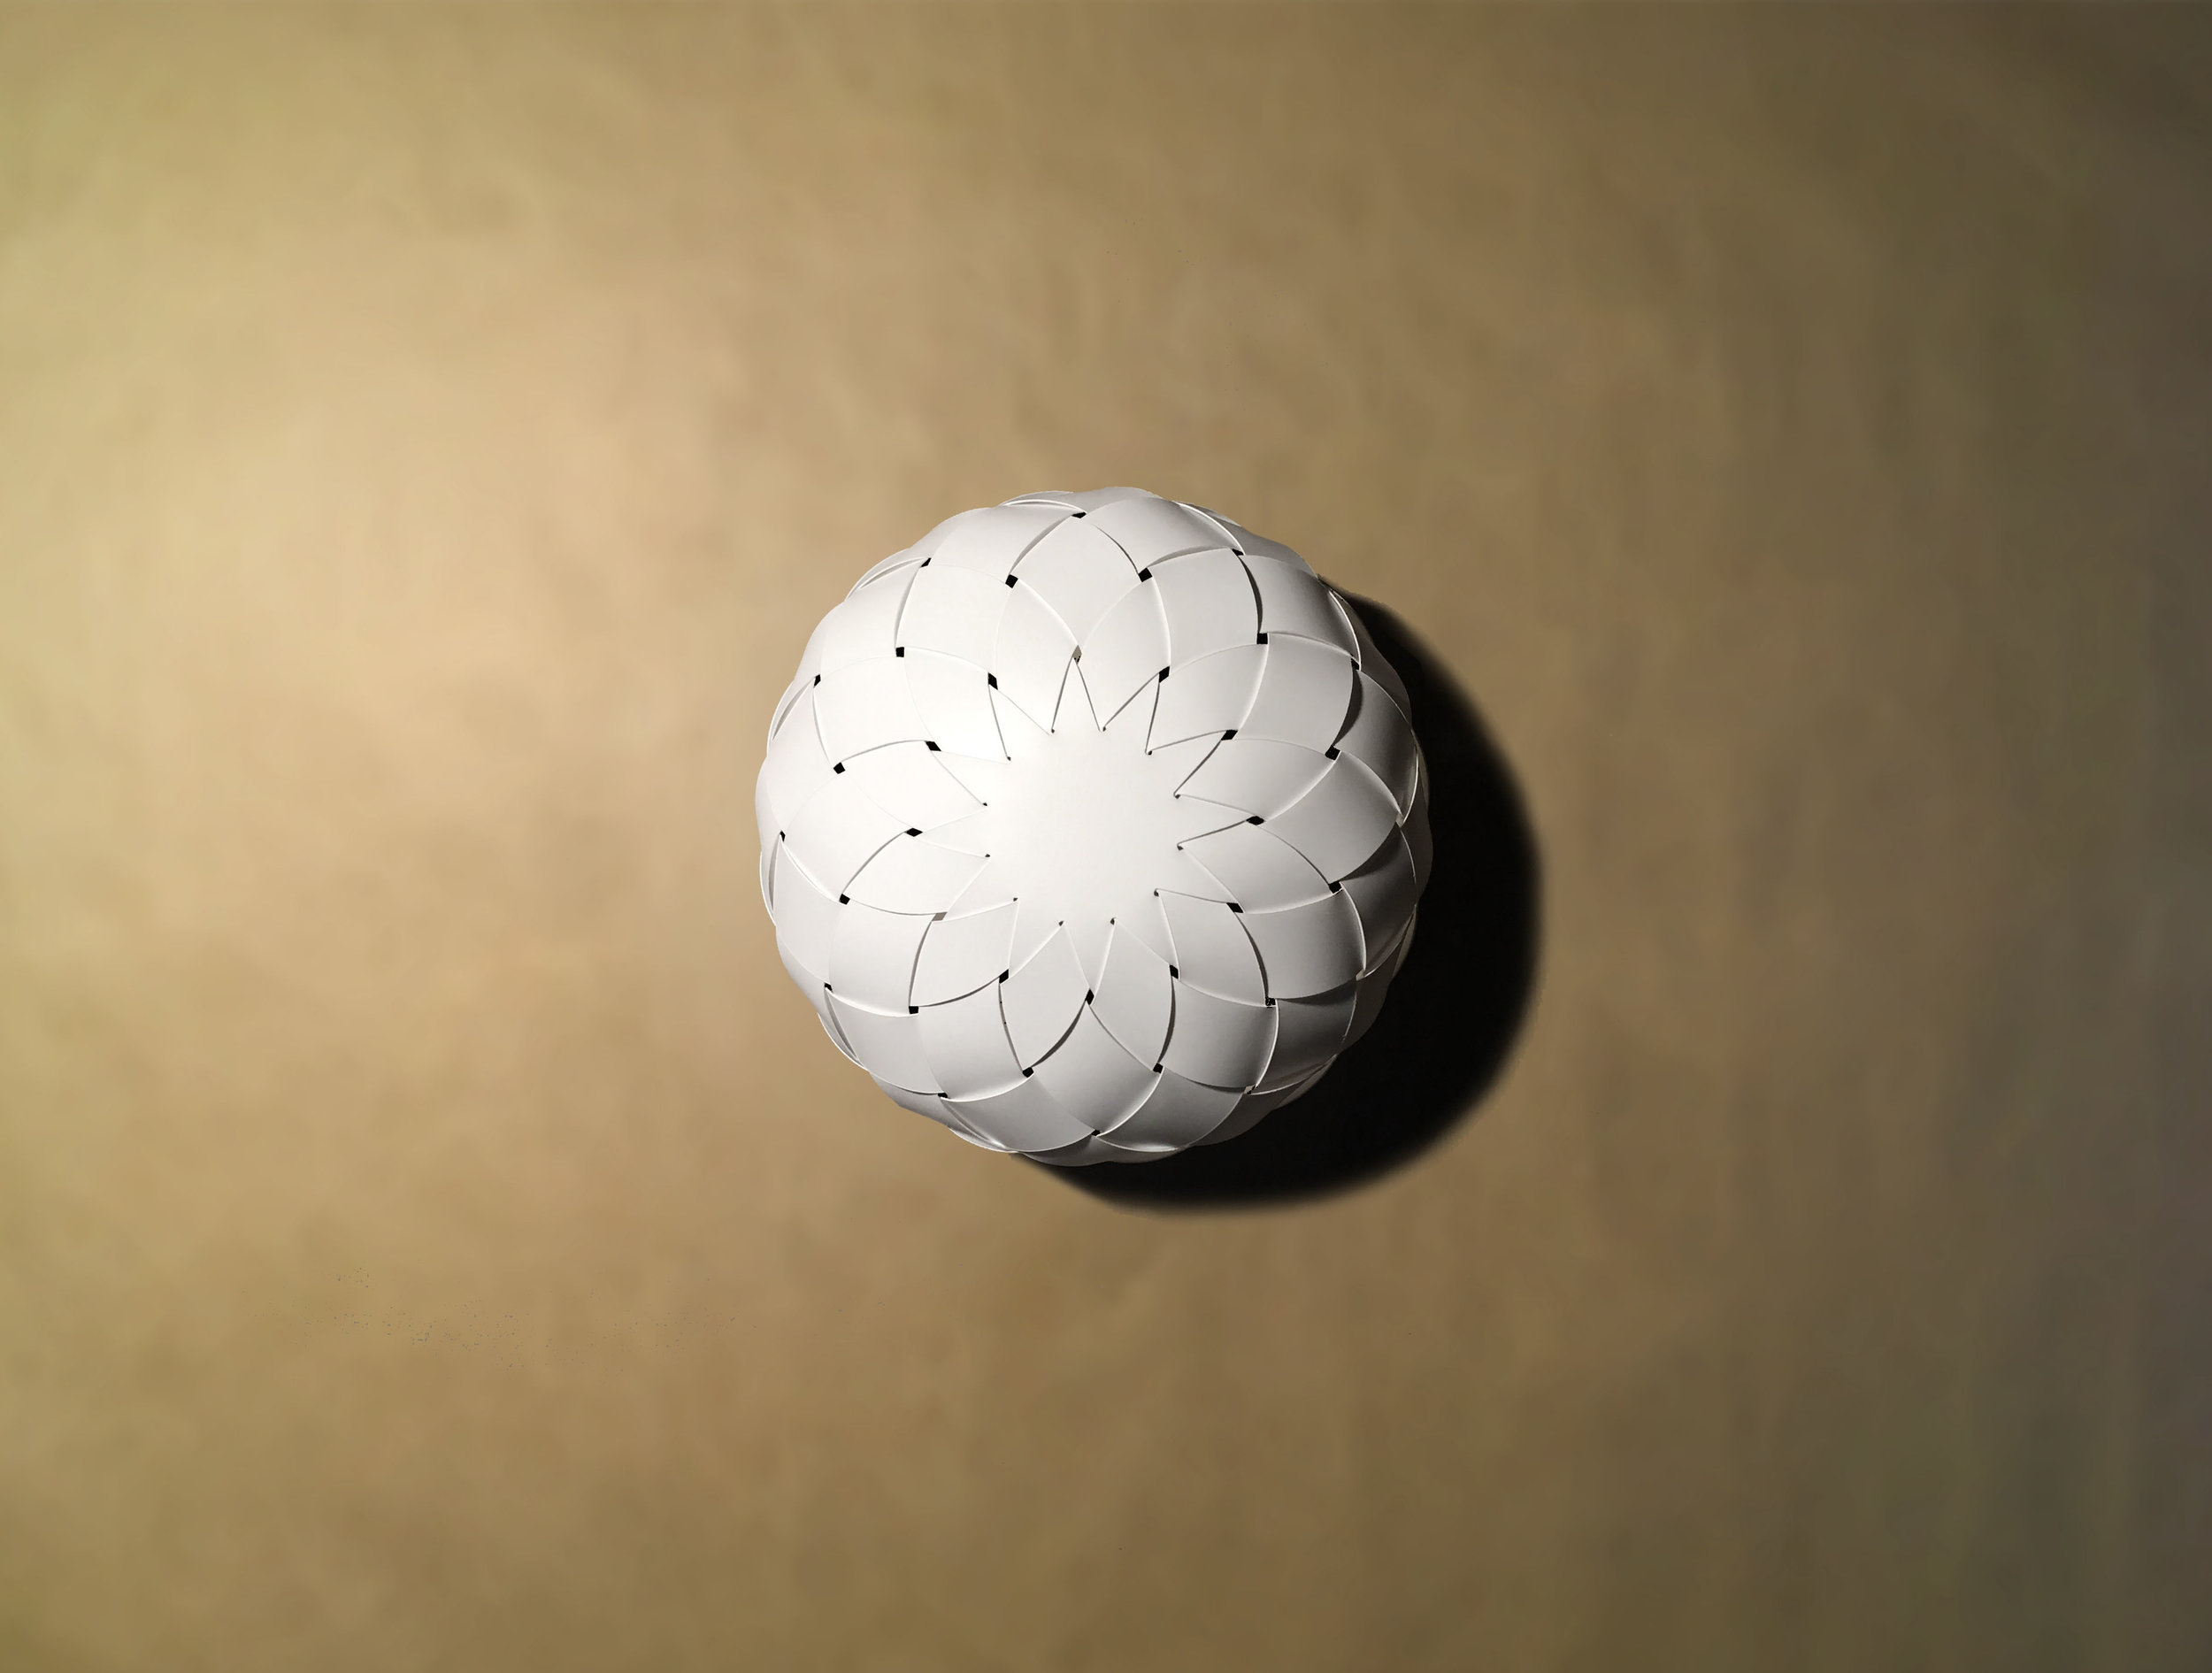
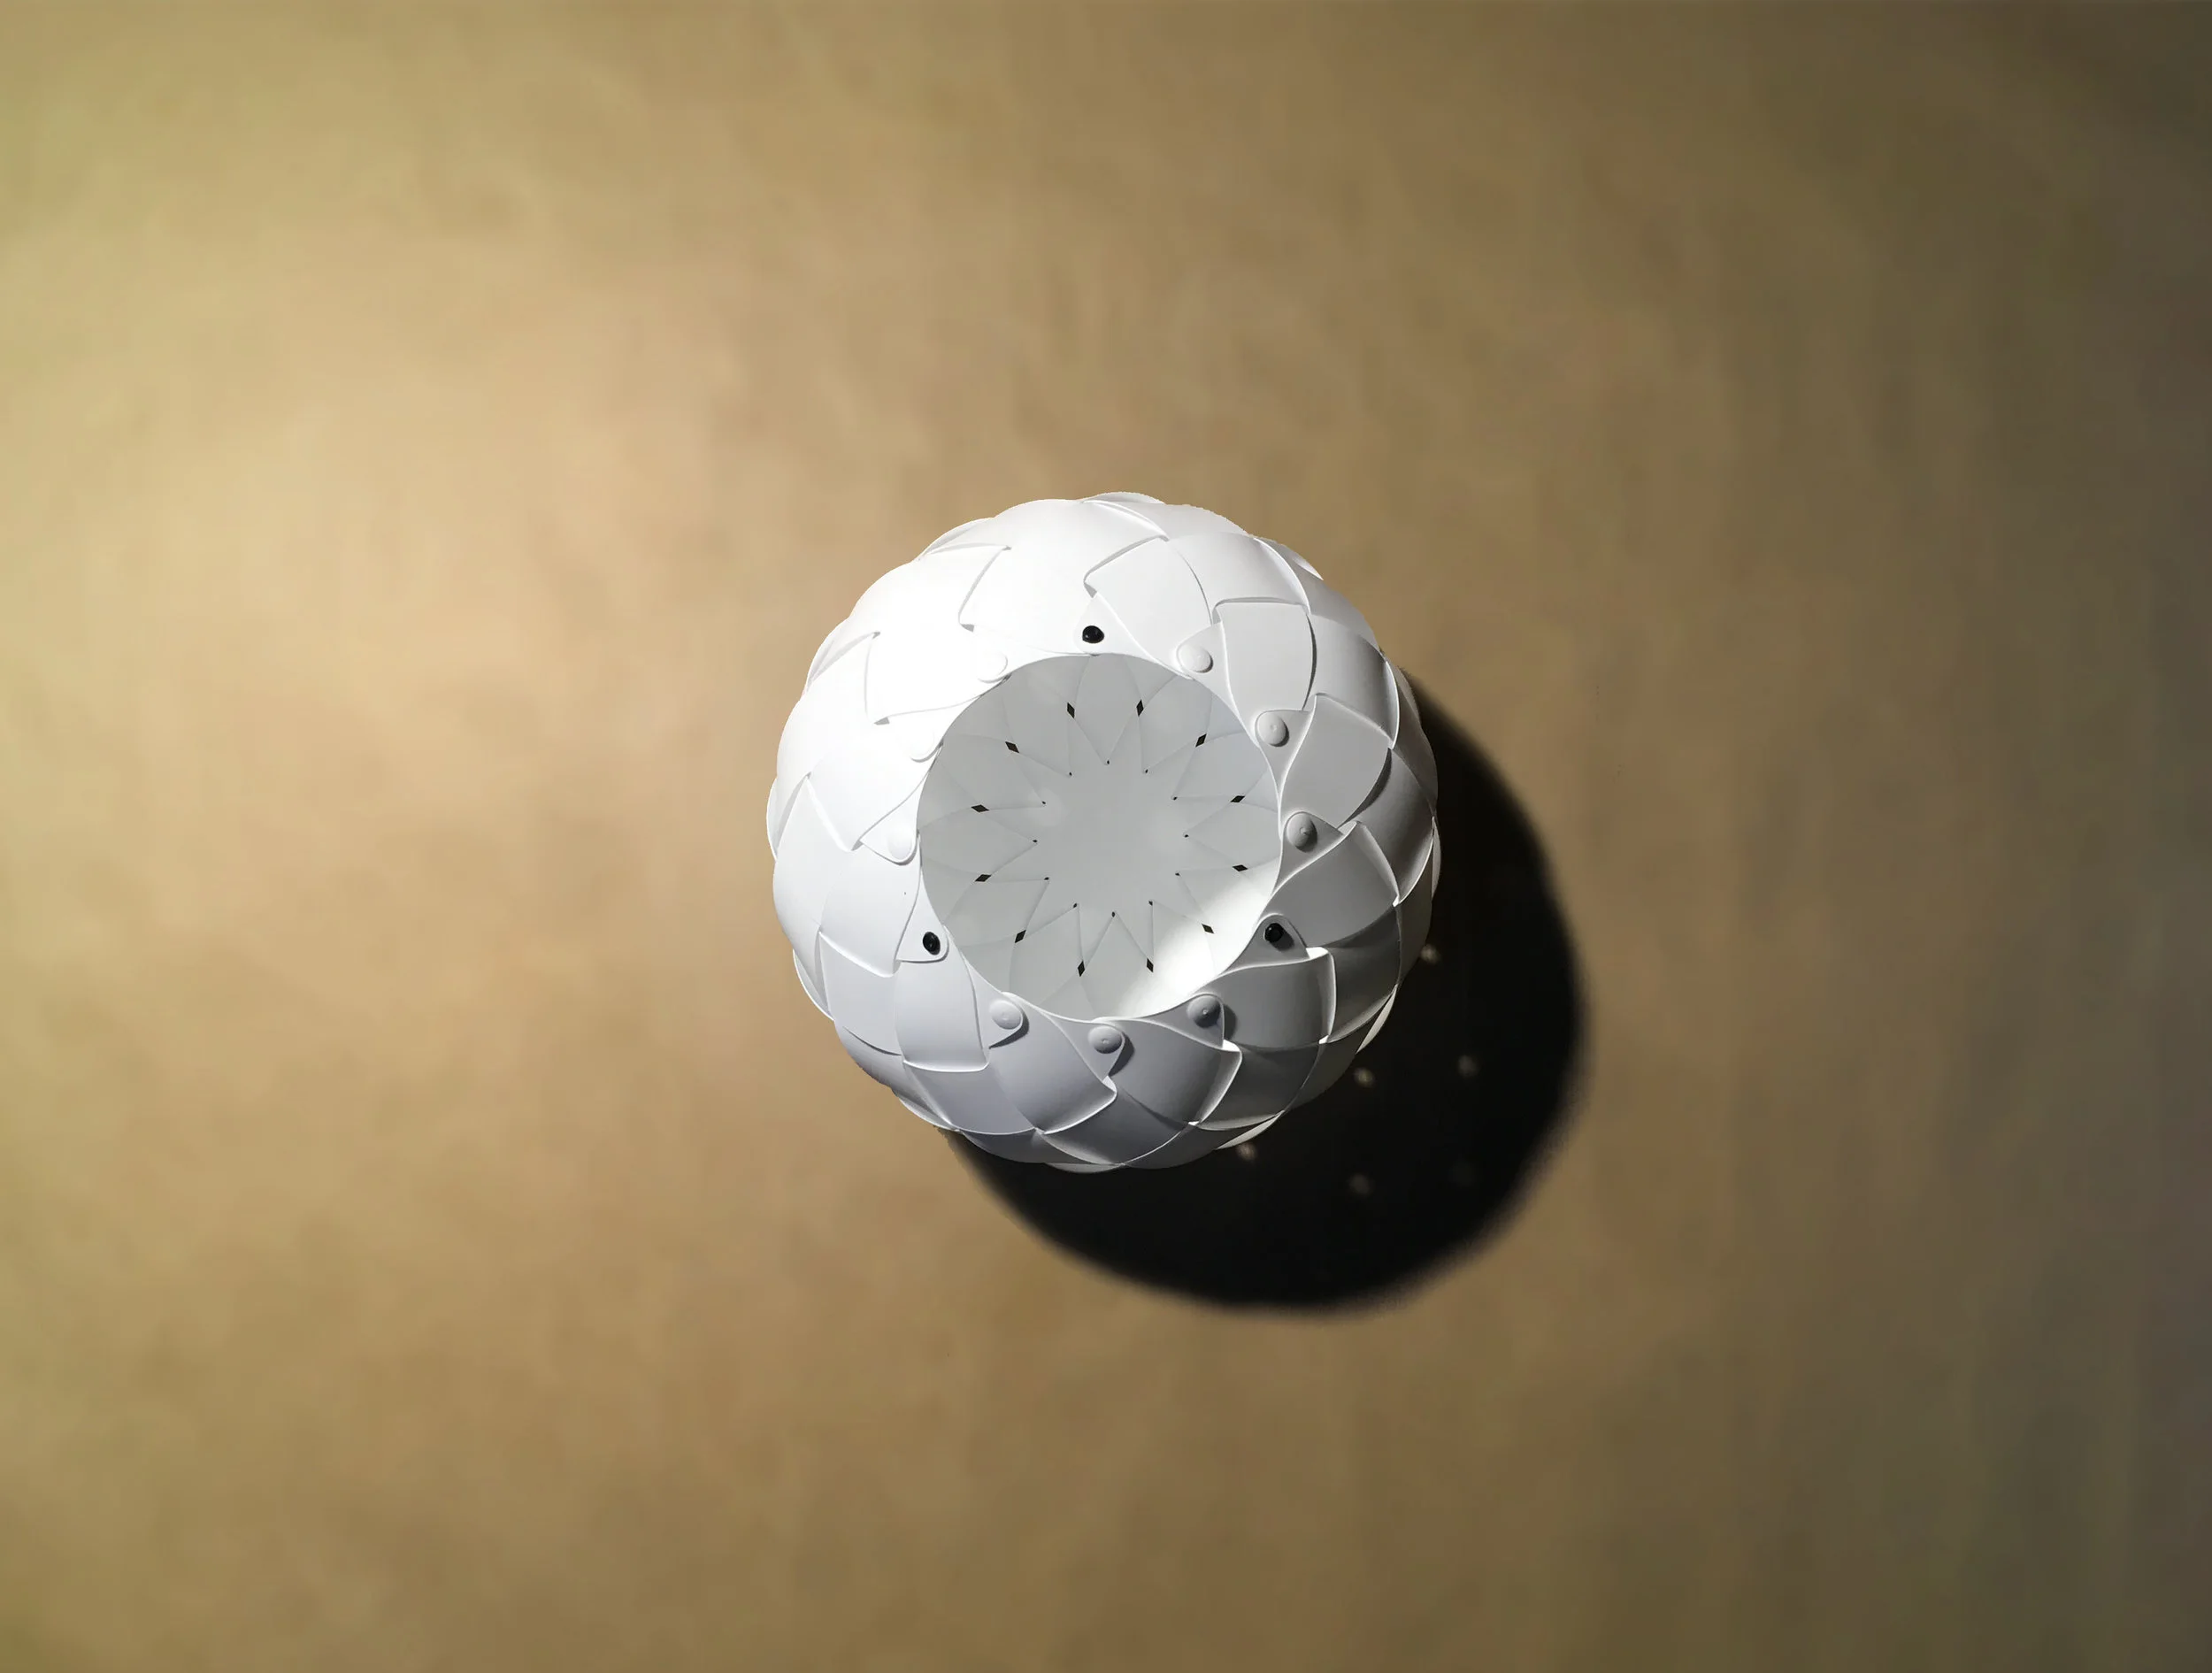
You did it!
Enjoy your Zone shade.